After SO is created and PA (Purchase Agreement) is generated by Salesperson, Purchasing person will send the PO (Purchase Order) to Vendors for a Request for Quotation. Purchasing person will upload the prices to the relevant SO and send a task to Salesperson to notify prices have been uploaded.
This SOP will list the steps of how to add PO to SO.
1. Open the Project where the Purchasing Person has sent a task about the uploaded price. Particularly for registrations, make sure that Purchasing person has confirmed over task that the documents/other requirements can be provided by the Vendor. This also applies to No Registration RFQs that have document/packaging/shipping or other requirements. Some requirements that may not be provided by Vendor, may be provided in-house, check with BD Dept. Manager if not sure. Check the part 2 of this SOP to understand better how to select the right Vendor quotation.
2. Open the SO from the Project page.
3. Click “EDIT”.
4. Check the “Order Date Exchange Rate” of the SO and the current exchange rate on the top right corner of the blue banner of the page.
Note: The “Order Date Exchange Rate” should not be higher than the current exchange rate. If it is, Salesperson must change the “Order Date” to the current date so it remains updated. If the “Order Date Exchange Rate” is lower, Salesperson does not need to change it.
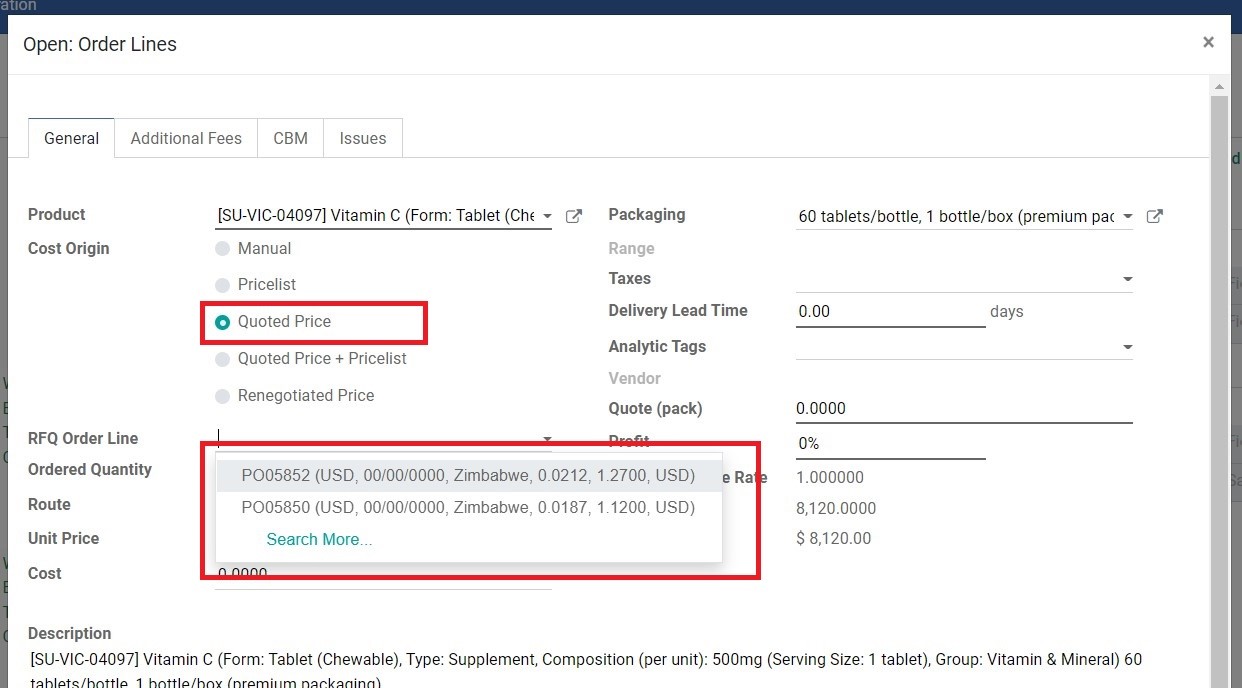
5. Click on a product and the “Order Lines” pop-up will appear.
6. Select the “Quoted Price” option and click on the empty “RFQ Order Line” field.
7. Depending on how many Vendors quotations have been quoted, there may be more than one PO prices under each product. To view more information about the PO prices, click “Search More...”. PO prices will open up with more details of Quantity and Vendor. Check carefully and select the suitable PO price. You can also directly click on a PO price from “Ordered Quantity” dropdown without the above step.
8. When selecting a PO price, the following situations may occur:
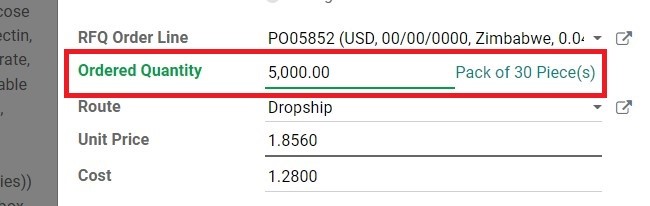
a. Product Quantity update
When the quoted product quantity is different from the initial SO quantity, the Ordered Quantity line will turn green. If Customer indicated their quantity requirement in the beginning, inform them of the reasons behind this quantity change.
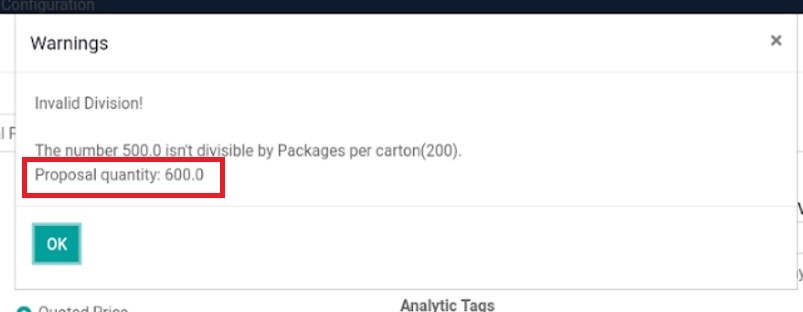
b. Cartons Quantity notification
When quoted product quantity is known in the system to have set quantities for full cartons, the system will provide a suggestion to increase the quoted quantity to fill the last carton. Click the “OK” button and adjust the quantity accordingly and inform Customer of this quantity change.
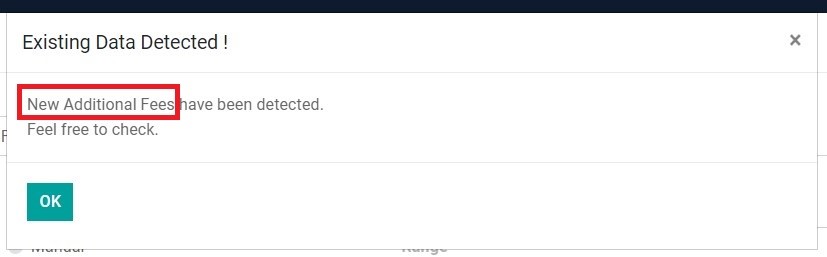
c. Additional Fees notification
Additional fees may be applicable for some products, such as printing fees for first time order of a product, or printing fees due to quantities not fulfilling the Vendor MOQ. More information on how to add Additional Fees to the SO can be found in part 4 of this SOP.
Note: Additional fees may also apply from other factors than the Vendor, such as notarization/legalization fees. More information on this can also be found in the part 4 of this SOP.
9. Once the PO has been selected, input the Profit field by typing in the number %.
10. Check to make sure that Margin and Subtotal fields are automatically adjusted to the inputted Profit.
11. Click “SAVE” on the Order Line pop-up page.
12. Repeat the above steps for other products.
13. Click “SAVE” on the SO page.
14. Click “UPDATE PA” to make sure that the selected PO prices will also be updated on PA and therefore informed to the Purchasing Dept.