Once PO prices have been added to the SO with the selected Vendors, profit % have been inputted and any applicable additional fees have been added, BD Salesperson can proceed to send the Sales Quotation to the Customer. A few important points to consider when sending a quotation:
• The system does NOT allow quotations to be exported with a profit margin of 0%. If such pop-up notification is received, check again the product list to make sure the products have adjusted profit %.
• BD Salesperson does NOT have to wait for all products to be quoted by Purchasing Dept. to send the quotation to the Customer. Any products not quoted in the SO table (product line still red), will not be shown in the quotation, only the ones quoted. It is good to share some products first to new Prospects in particular, to get some feedback on the quotation before proceeding with the rest of the products.
• At the same time, if Purchasing Dept. has confirmed that they are waiting for more quotations of the same product from other Vendors, consider waiting to better compare Vendor prices before sending the quotation.
• The duration between SO created and quotation to be sent may be long. Double check the exchange rate.
• Make sure the PA is updated to the most recent SO revisions.
• Make sure the Other Information - Location field is filled consistently with either China/India/other purchasing country (if applicable).
EXPORTING THE QUOTATION
Once all points above are considered and BD Salesperson is ready to provide quotations, follow these steps to send the Sales Quotation:
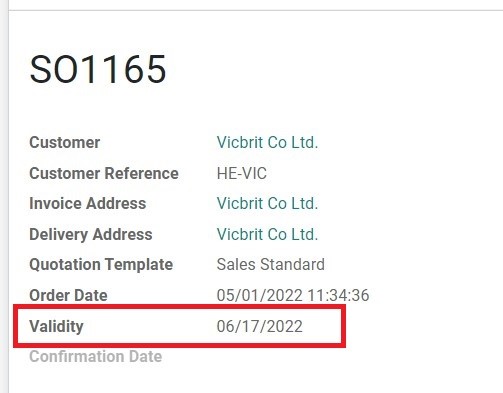
1. Open the SO page, set the “Validity” date to around 1-2 weeks of the quotation date. If the Purchasing person has mentioned a specific deadline for price validity, set the date accordingly.
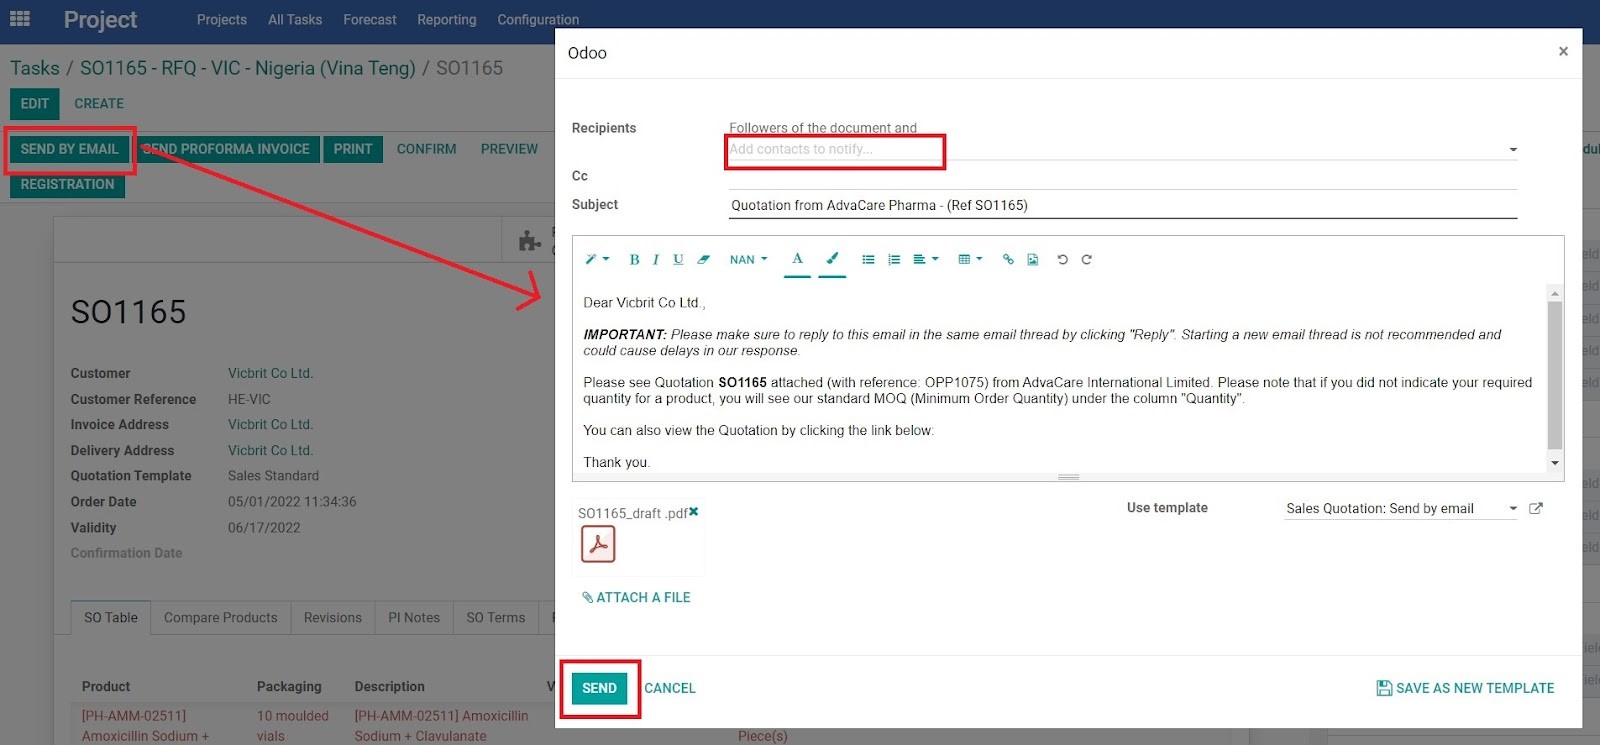
2. Click the “SEND BY EMAIL” button on the top left corner.
3. On the pop-up box, REMOVEthe Customer contact from the Recipients field, this field should be EMPTY.
4. Click “SEND”.
5. The exported quotation will automatically be stored in the system under the chatter and status of the SO will automatically move from “QUOTATION” to “QUOTATION SENT”.
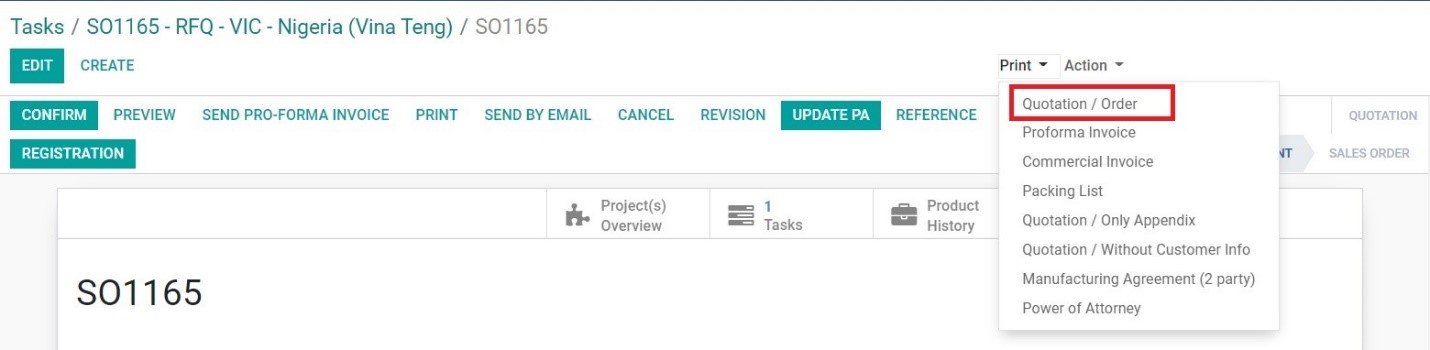
6. Once the exported PDF has been stored in the system, BD Salesperson can also download the quotations by clicking the “Print” button on the top of the SO page and selecting “Quotation/Order” from the dropdown.
7. Save the downloaded Quotation in the RFQ Folder under “OFFER” subfolder.
8. Check to make sure that all information is correct and that the quotation is ready to be sent to the Customer.
SENDING THE QUOTATION
All Sales Quotations must be sent to the Customer via email. It may additionally be sent over the WhatsApp/Skype group if required, but the quotation must always be recorded in the email thread between BD Salesperson and Customer with the BD Dept. Manager CC’d in the email.
In the outgoing email where quotation is to be attached, BD Salesperson can include the following resources to further promote the product and promotional support provided by AdvaCare:
When revisions are required to be made on the quotation due to product, quantity, vendor, price or other changes, depending on the scenario BD Salesperson must follow these points to ensure that the previous information will still be accessible follow these steps:
1. Open the SO page.
2. Click “CANCEL”.
3. Click “SET TO QUOTATION”.
4. Click “EDIT”.
5. Depending on the revisions required, a few things are to be followed:
a. Quoting new products without showing the old quotations:
i. Quote the new products following the steps laid out on the first part of this SOP.
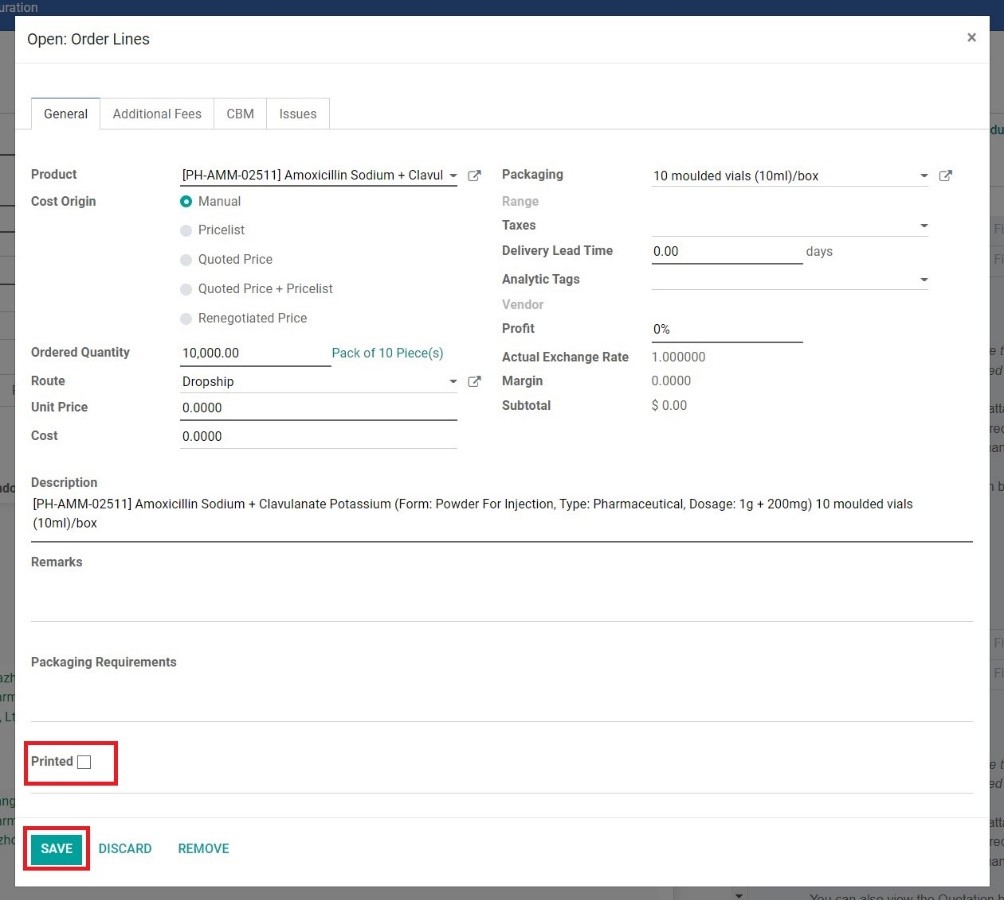
ii. To make older products not exported or “invisible” on the quotation, click on the product line.
iii. On the product Order Line, scroll to the bottom part and untick the “PRINT” checkbox and click “SAVE”. Repeat the process as needed.
b. Removing products that the Customer does NOT want to proceed with.
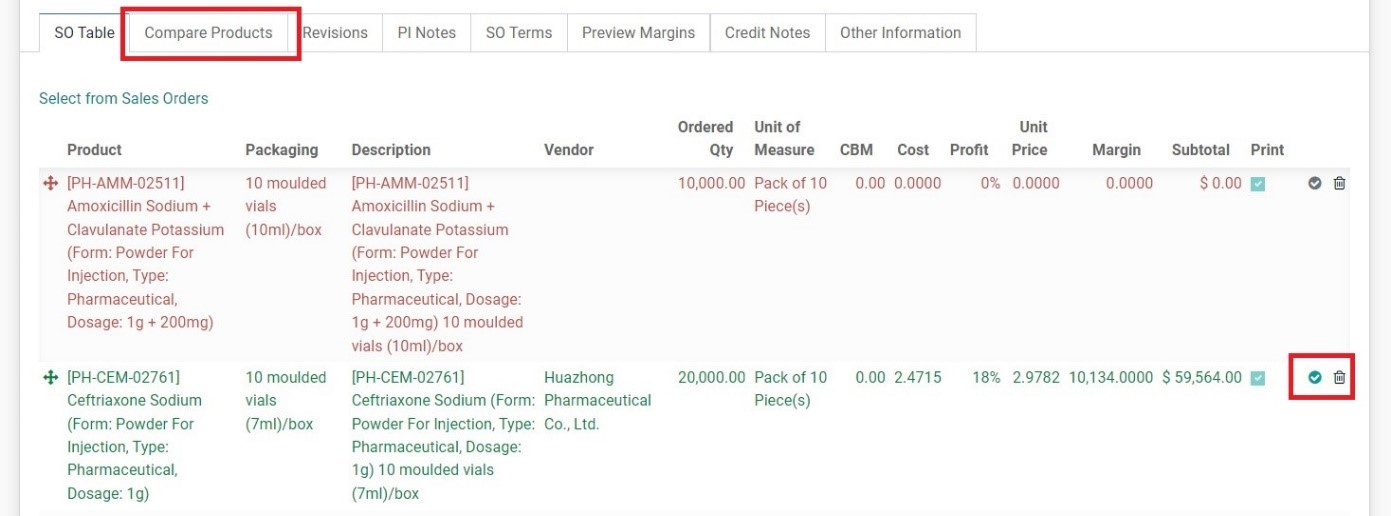
i. On the SO Table, click on the tickbox on the right corner of the product(s).
ii. Check the next Tab “Compare Products” to see if the ticked product has been duplicated on this table. This tab provides a reference for Salesperson to easily refer back to products that have been quoted under this SO but have not been confirmed by the Customer.
iii. Return to the SO Table and click on the trash icon to delete the product from the SO.
c. Adjusting Profit %.
i. Open each product Order Line and adjust the Profit %.
ii. Click “SAVE”.
6. Once all revisions have been made on the SO Table, edit and adjust the Validity date.
7. Click “SAVE” and “UPDATE PA”.
8. To send the quotation, click on “SEND BY EMAIL”, remove the Customer information and click “SEND” as before.
9. Export the quotation following the same step of clicking “Print” and “Quotation/Order”.
10. Rename the exported quotation following this template:
Quotation - SOXXXX (YYYY.MM.DD)
11. Save the new quotation in the same RFQ folder under the “OFFER” subfolder.