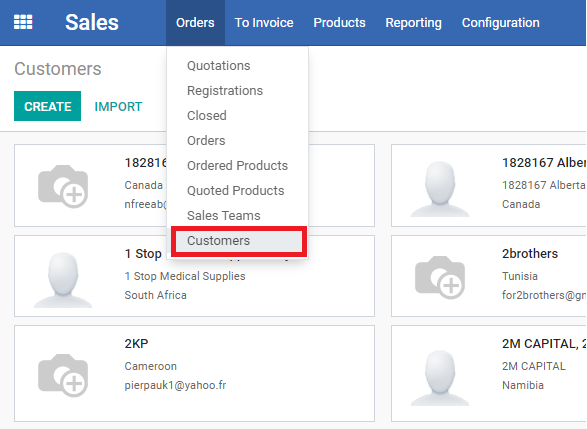
Updating the Customer Contact Card
| 6 minutesBefore creating an RFQ for either an existing Customer or a Prospect, it is likely that there is much new information acquired from the Prospect that is valuable to be updated in the system for future references. BD Salesperson must follow this SOP to update the Customer Information.
Updating Existing Customer Card
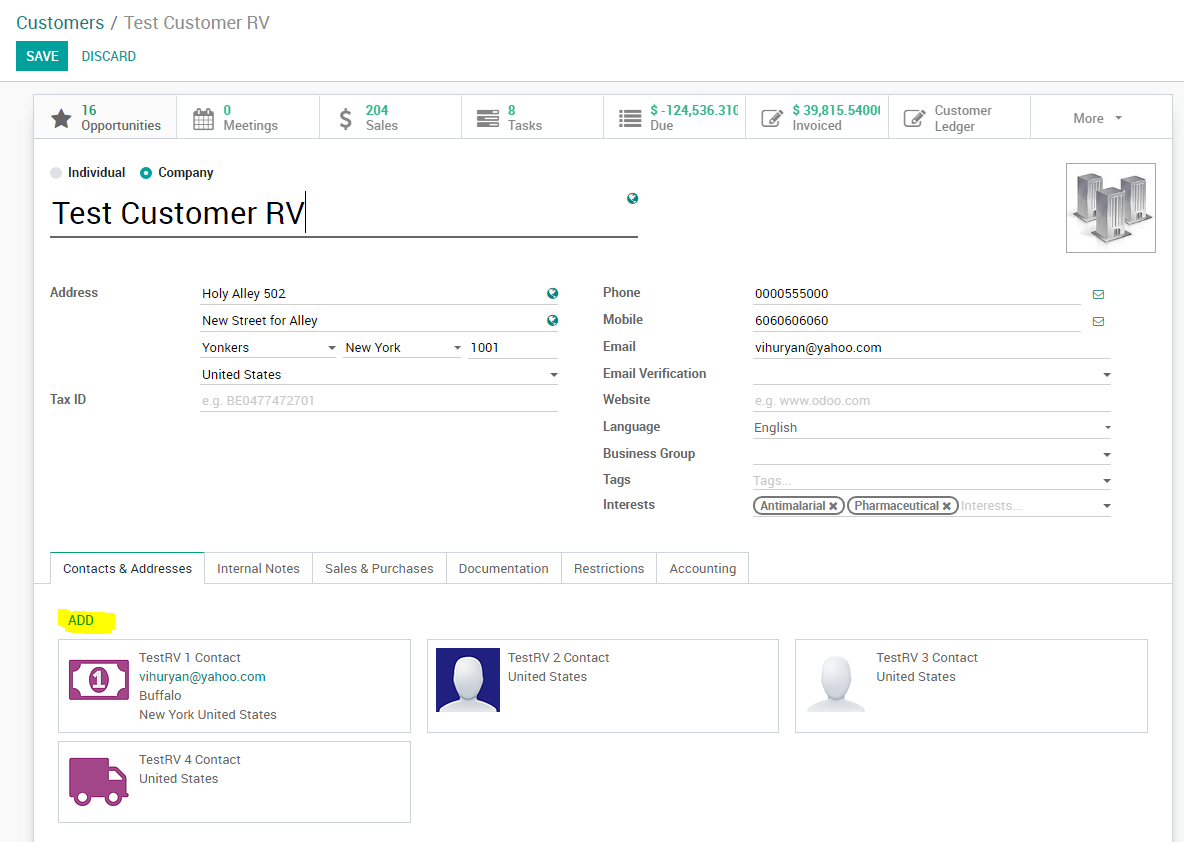
1. Address. Address is the most important field on Customer page. Address from Customer page will be copied automatically by the system when documents such as Sales Order, Proforma Invoice, Commercial Invoice, etc. are created.
Address has to follow the format according to the format of that country and must render correctly for all documents that will pull this address in the same format it is inputted in Customers page.
1.1 Country field: make sure it is filled out correctly.
1.2 State field: every City in ERP is connected to a state. In order to create a City, first State has to be created. To add a State, follow the steps:
1.2.1 Click on the ‘State’ field.
1.2.2 Start typing the name of the State, and choose the relevant one from the dropdown.
1.2.3 If the State doesn’t exist, click ‘Create and Edit’.
1.2.4 In the pop up first fill out ‘State Name’. If the Country doesn’t have states, create one with the same name as the City. For example, ‘London’.
1.2.5 Fill out ‘State Code’ by copy and pasting the same name, for example ‘London’.
1.2.6 Choose the relevant Country in ‘Country’ field, for example ‘United Kingdom’.
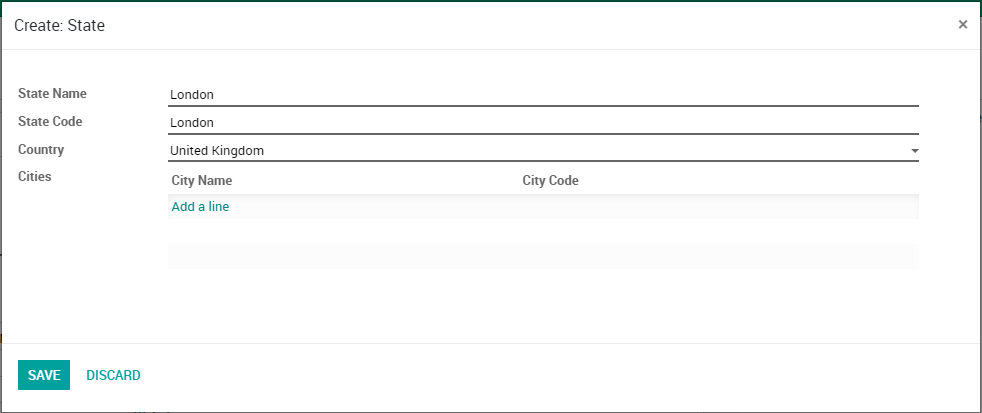
1.2.7 Click ‘SAVE’.
1.3 City field has to be filled out. To add a City, follow the steps:
1.3.1 Click on the ‘City’ field.
1.3.2 Start typing the name of the City, and choose the relevant one from the dropdown.
1.3.3 If the relevant City doesn’t exist, click ‘Create and Edit’.
1.3.4 In the pop up first fill out ‘City Name’. For example, ‘London’.
1.3.5 Fill out ‘City Code’ - the format for City Code is the first and last letter of the relevant City, both letters have to be capitalized. For example, for London the city code will be ‘LN’.
1.3.6 Choose the relevant State that has been created before. For example, ‘London’. ‘Country’ field will be auto-filled.
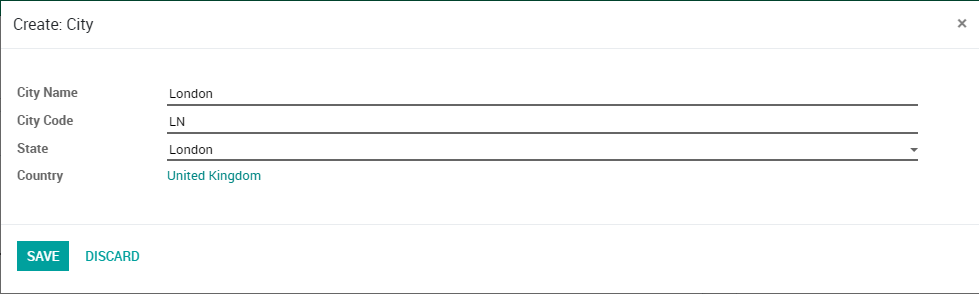
1.3.7 Click ‘SAVE’.
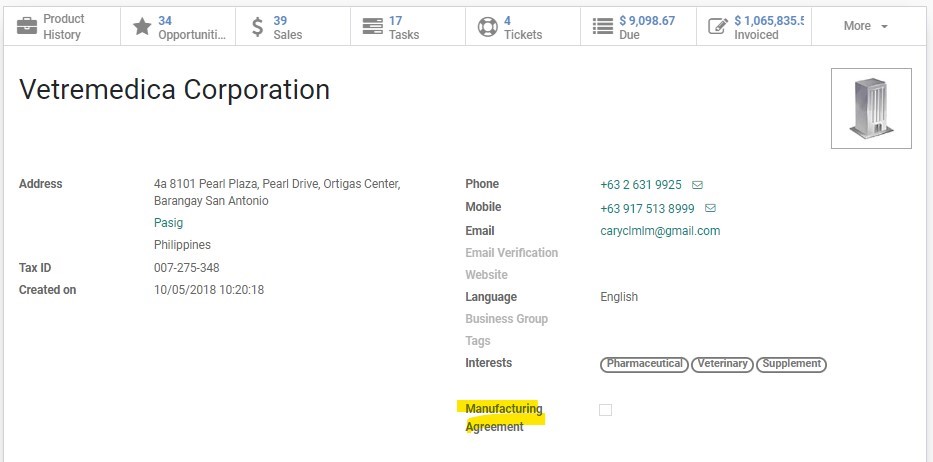
2. Phone. Phone number in the general section of Customer page refers to Customer office phone number. ‘Phone’ from Customer page will be copied automatically by the system when documents such as Sales Order, Proforma Invoice, Commercial Invoice, etc., are created. ‘Phone’ field has to follow the format: ‘+63 2 8288 0355’, where ‘+63’ is the country code. The spaces will be made by the system automatically.
3. Mobile. Mobile number in the general section of Customer page refers to the mobile phone number of the main contact person in the Customer’s company. ‘Mobile’ field has to follow the format: ‘+63 917 825 5221’, where ‘+63’ is the country code. The spaces will be made by the system automatically.
4. Email. Make sure the email address is filled out and is correct. It has to be the email address of the main contact person in the Customer’s company.
5. Website. If Customer has a company website, ‘Website’ field has to be filled out in the following format: www.XXXX.com
6. Interests. Interest is a very important field that has to be filled out according to the products Customer is buying. This field will be used by Marketing Dept. to send targeted Newsletters, Surveys and other marketing materials. There are several options based on AdvaCare range: Pharmaceutical, Antimalarial, Oncology, Veterinary, Supplement, Injection Instrument, Diagnostic Detection, Incontinence & Urology, Skin & Wound Care, Medical Wear, Condom. Salesperson needs to choose one or several from the dropdown. Salesperson can also click on the “Add Multiple” button to add more than one interest at a time.
7. Manufacturing Agreement. Notes whether or not Manufacturing Agreement has been signed. This field will be empty for Prospects. For returning existing Distributor, Salesperson must check the distributor folder if the Manufacturing Agreement has been previously signed.
8. Contact Cards. Every contact person from Customer company has to be added to the system as a Contact card. To add a Contact card follow the steps:
8.1 Click ‘ADD’ in ‘Contacts & Addresses’ tab.
8.2 Fill out ‘Contact Name’, ‘ Title’, ‘Job Position’, ‘Email’, ‘Phone’, ‘Mobile’ fields.
8.3 In ‘Message Services’ add any other Message Service, such as Skype, Whatsapp, etc. Click ‘Add a line’ and fill out the information in the pop up. Choose the service name from the dropdown in ‘Name’ field and fill the ‘Value’ field with the relevant account ID.
8.4 Click ‘SAVE & CLOSE’.
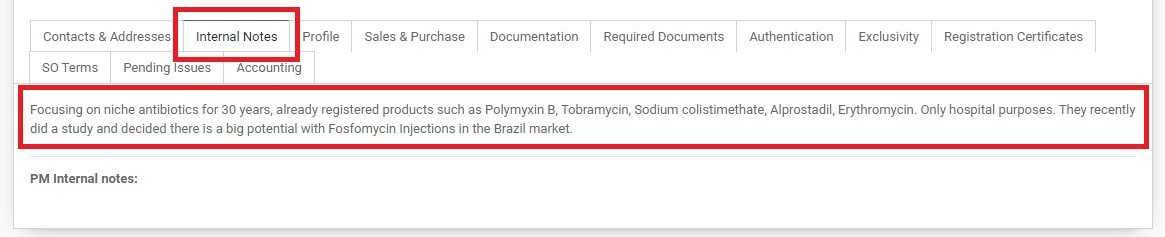
9. Internal Notes. This tab summarizes basic information about the Customer’s company.
Add new information to the existing template for existing Customers. Make a short summary about the company background/basic information for Prospects.
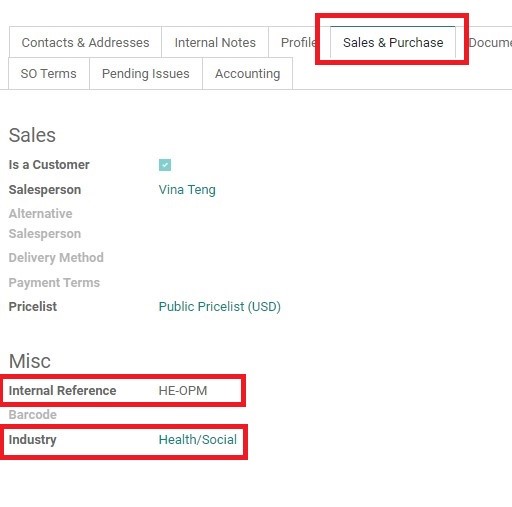
10. Sales & Purchases tab. This tab has several important points that need to be addressed.
10.1 Salesperson: make sure this field is filled out correctly and reflects the accurate Salesperson that handles the Customer account. Salesperson field should contain Account Manager Salesperson name for Existing Customers, and Business Development Salesperson for Prospects.
10.2 Alternative Salesperson: fill out the relevant Alternative Salesperson if it is not filled, or check if it is filled correctly. Alternative Salesperson field has to reflect BD Salesperson name for Existing Customers. Leave blank for Prospects.
10.3 Internal Reference: to fill out Internal Reference, first fill ‘Industry’ by choosing ‘Health/Social’ from the dropdown. ‘Internal Reference’ field will then be auto-filled. Sometimes it does not auto-generate, in this case, manually type the code using the format “HE-XXX”.
10.4 Payment Terms: fill out ‘Payment Terms’ field by choosing the relevant terms from the dropdown.
10.5 Payment Policy: fill out ‘Payment Policy’ field by choosing the relevant terms from the dropdown.
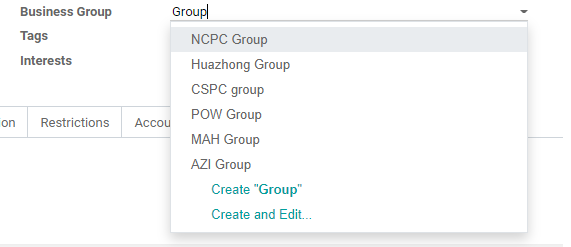
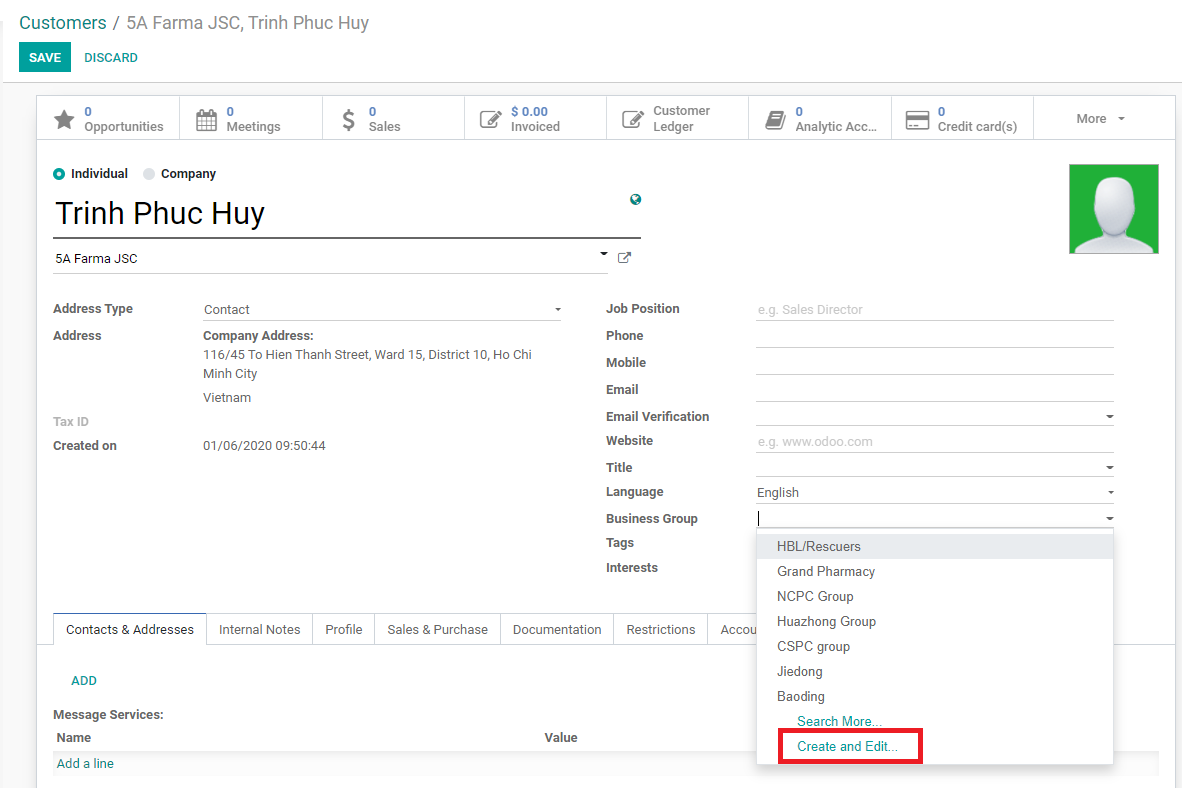
Handling Sales Business Group
A Business group is a field of the Contact model, a Contact model could be a customer or vendor. This field contain only:
One or more customers can belong to the same Business Group. When handling a Prospect belonging to the same group as existing one(s), BD Salesperson can create and assign a new Business Group following this SOP.
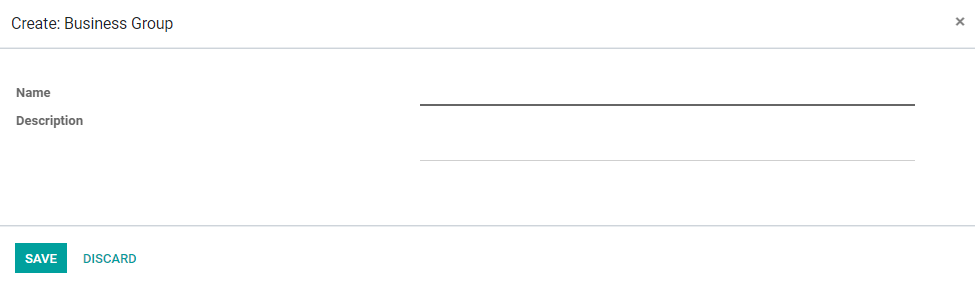
How to create a new Business Group

How to assign an existing Business Group