Updating Vendor Contacts

| 3 minutes

Marketing Dept. is responsible for updating ERP database with all contacts of the external vendors, companies, freelancers to ensure the shared and common knowledge within the department. It is also done to ensure reusability of various contacts over long periods of time.

Contacts that are used by Marketing Dept. on daily basis:

Promotional Materials Vendors
Freelancers: any hired part-time or full-time skilled workers, for example copywriters, developers, designers, translators, etc.

It is the responsibility of Marketing Dept. Manager to update in ERP the contacts of each vendor or freelancer Marketing Dept. is working with. Marketing Dept. Manager must make sure to add new contacts on an ongoing basis. No payment to any external Vendor will be approved without the Contact created in ERP.

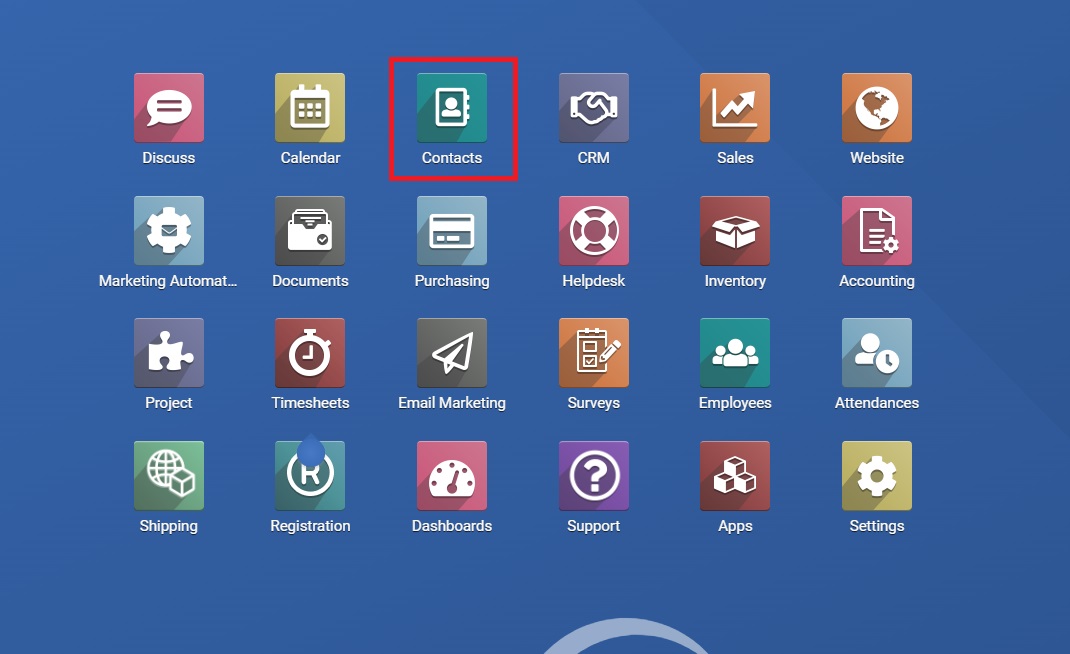
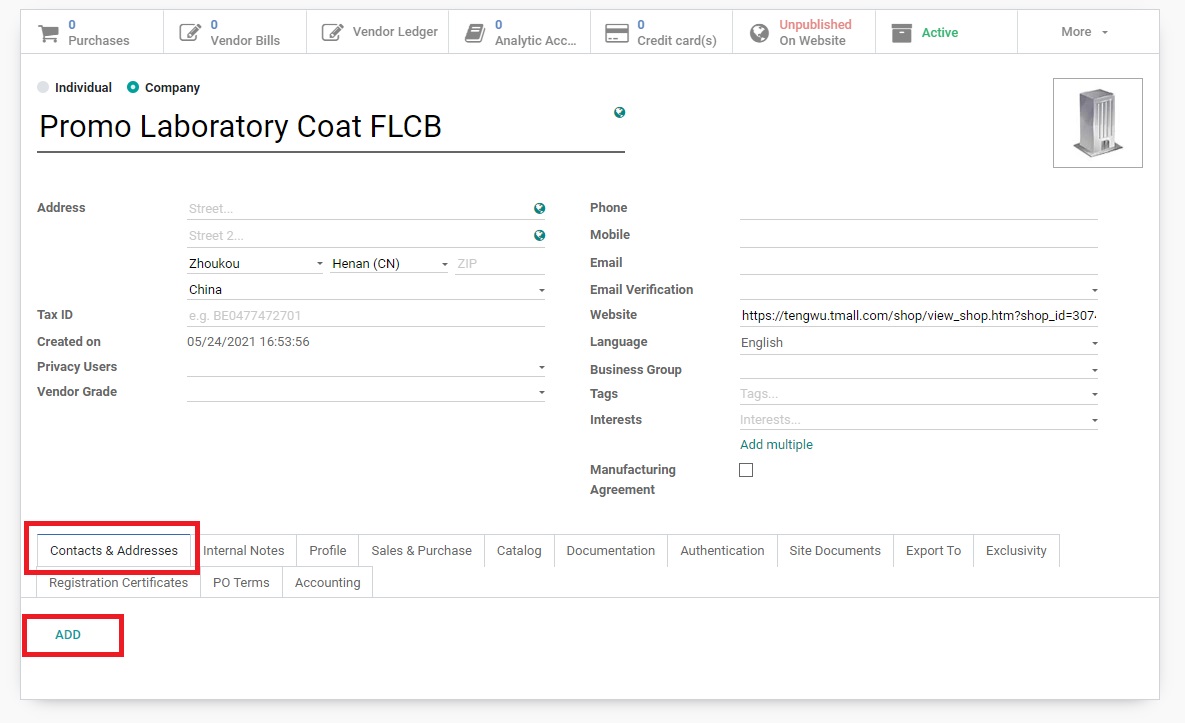
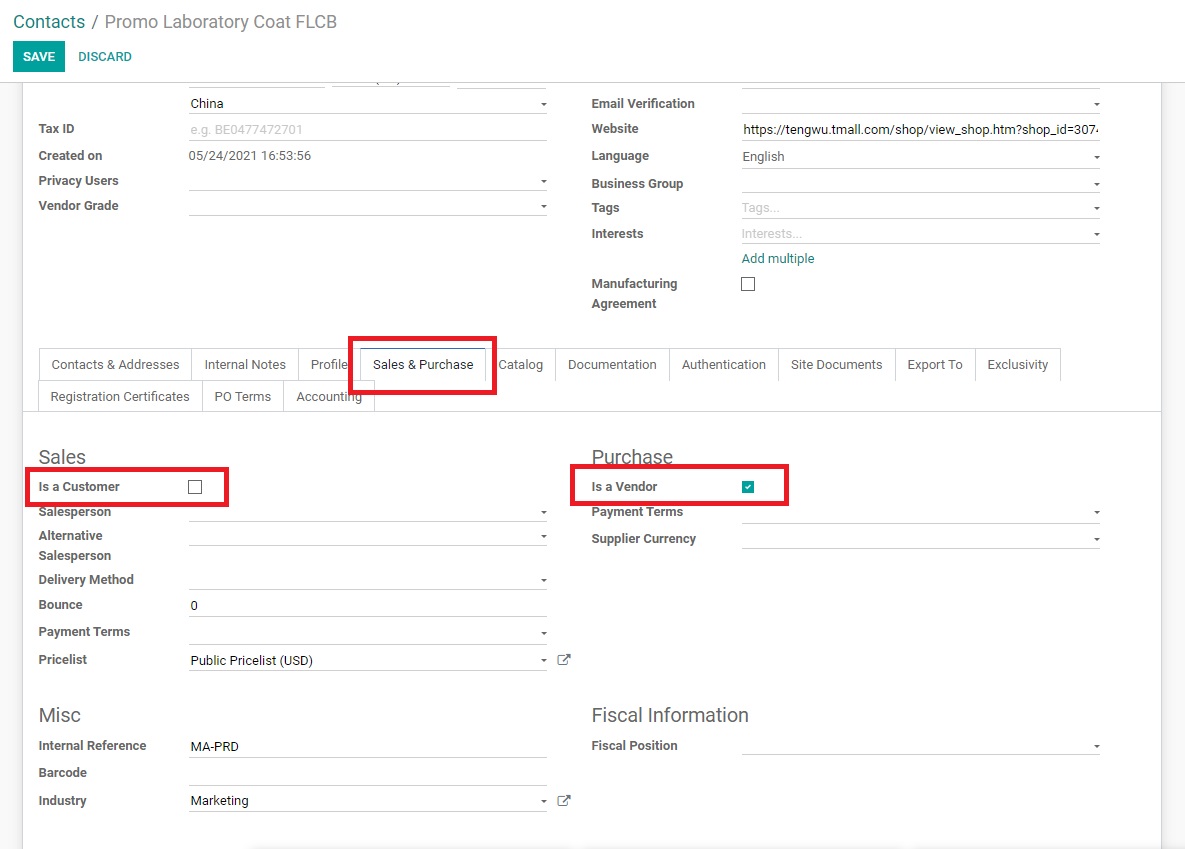
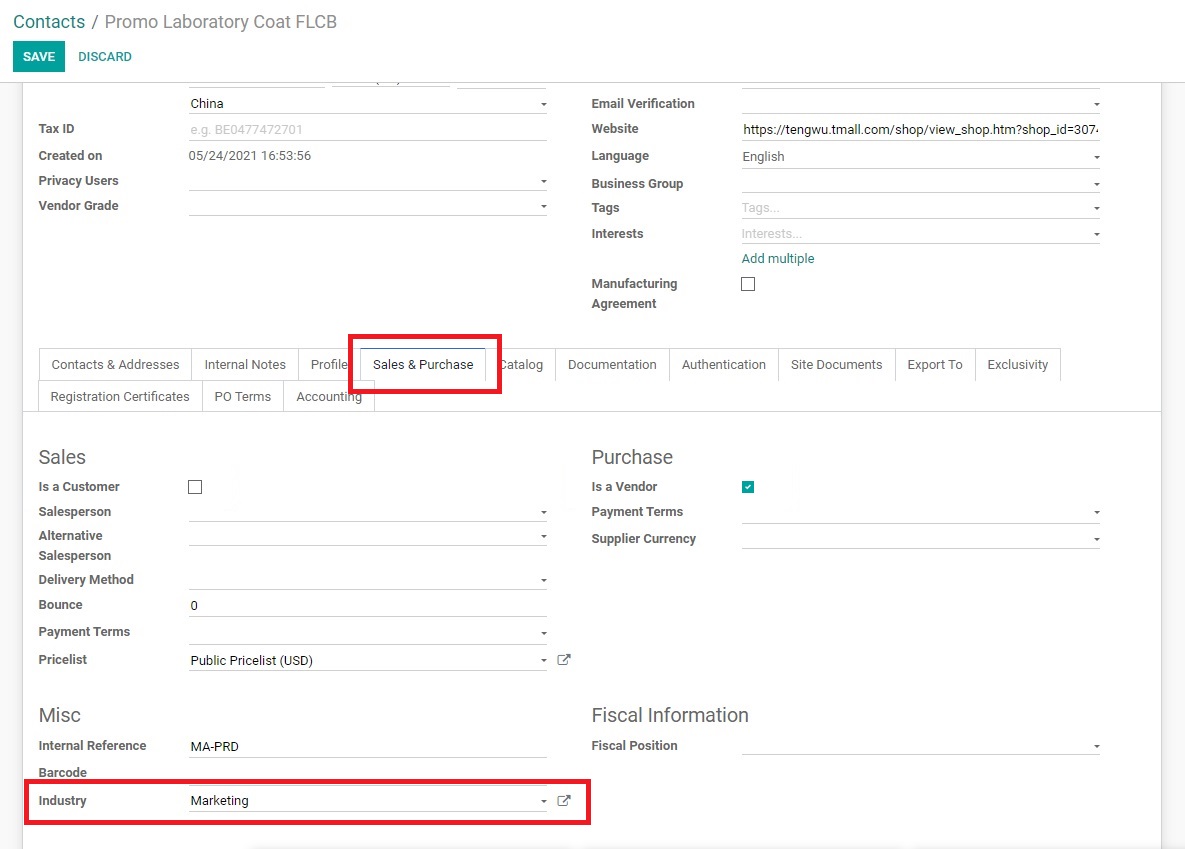
Creating a new Vendor in Contacts Module

1. Locate and open Contacts Module in the ERP.

2. Click ‘CREATE’ on top left of the screen.
3. Regardless of whether the contact is an individual or a company, switch to ‘Company’ radio button on top of the screen.

4. Fill out the ‘Name’ field according to the following rules:
If the contact is a promotional materials vendor, name the contact with the word “Promo” first, and then the type of promo products that vendor makes. For example, “Promo Pamphlet”, or “Promo Backpack”, etc. If there are multiple contacts for the same type of product, add chinese name of the vendor, for example “Promo Notebook Longcheng”, or “Promo Cap Xinhuizu”.
If the contact is a Freelancer, name the contact with the occupation and purpose of the freelancer, for example “Copywriter”, “Designer: 3D Modeler”, “Designer: UI/UX Web Designer”, “Developer: Web Animator”, etc.

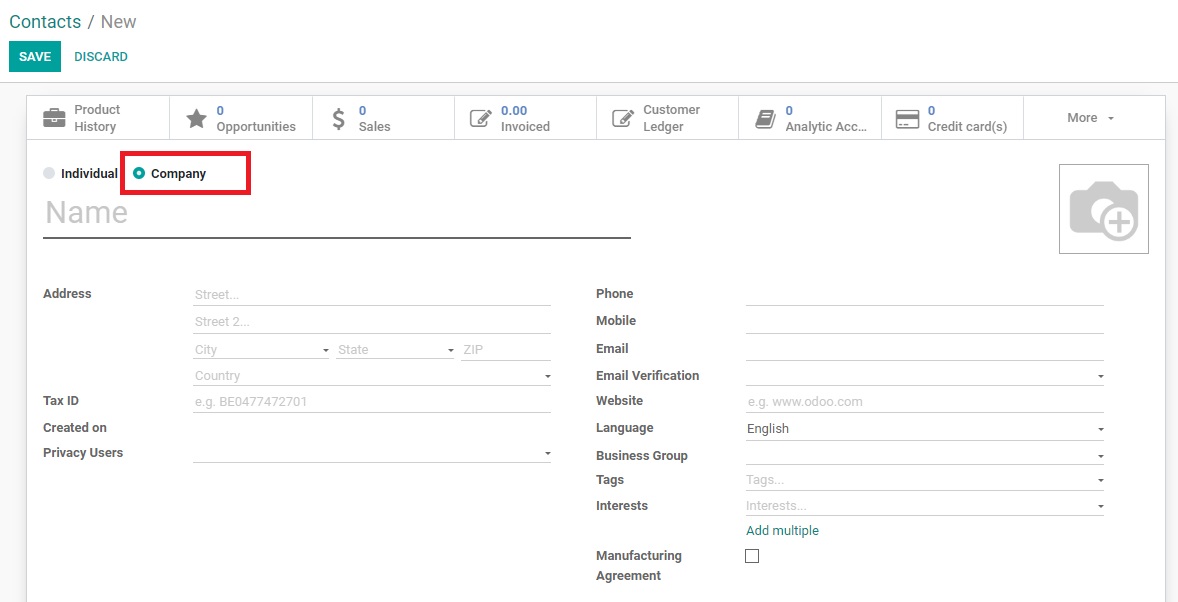
IMPORTANT: When creating new contacts the basic grammar and punctuation rules must be followed:

All the words in the Name field must start with capital letters.
Spelling mistakes are not acceptable.
If there is a clarification on occupation in the name (for example, “Designer: 3D Modeler”), the first and second parts must be separated with a colon. Any other format is not acceptable. The name should NOT be “Designer - 3D Modeler”, or “Designer 3D Modeler”, or “Designer/3D Modeler”, etc.
5. Fill out ‘Address’: it is enough to fill out ‘Country’ for Freelancers, and ‘Country’ and ‘State’ for Promotional Materials Vendors.
6. Fill out the ‘Email’ field with the contact’s email address (required for Freelancers). Make sure there are no spelling mistakes in the email address.
7. Fill out ‘Website’ field with the link to Freelancer’s profile in related freelance platforms, or with the link to Taobao/Jingdong/etc. page for Promotional Materials Vendors.
8. After the above information is filled out, create a Contact Card for the individual information (required for Freelancers). To create a Contact Card click ‘ADD’ in ‘Contacts and Addresses’ tab.

9. In ‘Create Contacts’ popup, fill out ‘Contact Name’ field with the name of the Freelancer.
Note: Contact Name must follow grammar and punctuation rules, each word must start with a capital letter, spelling mistakes are not acceptable.
10. Fill out ‘Email’ field and ‘Mobile’ field with Freelancer’s email address and mobile phone number.
Note: Mobile phone number MUST contain the country code.
11. Fill out any other contact information available (if any). After all the available information is added, click ‘SAVE & CLOSE’.
12. Switch to ‘Sales & Purchase’ tab.
13. In ‘Sales & Purchase’ tab, remove the checkbox from ‘Is a Customer’ field and fill the checkbox ‘Is a Vendor’.

14. Fill out ‘Industry’ field - choose ‘Marketing’ from the drop down.
Note: It is very important to fill out this field, to be able to see all Contacts for Marketing Dept. in one place with one filter.

15. Check all the filled out fields to make sure all the information is filled out and filled out correctly.
16. Click ‘SAVE’ on top left of the screen.
17. Check the newly created Contact. Make sure the information is clean, has the right format and free from grammatical and punctuation errors. If needed, click ‘EDIT’ to fix any mistake or missing information.

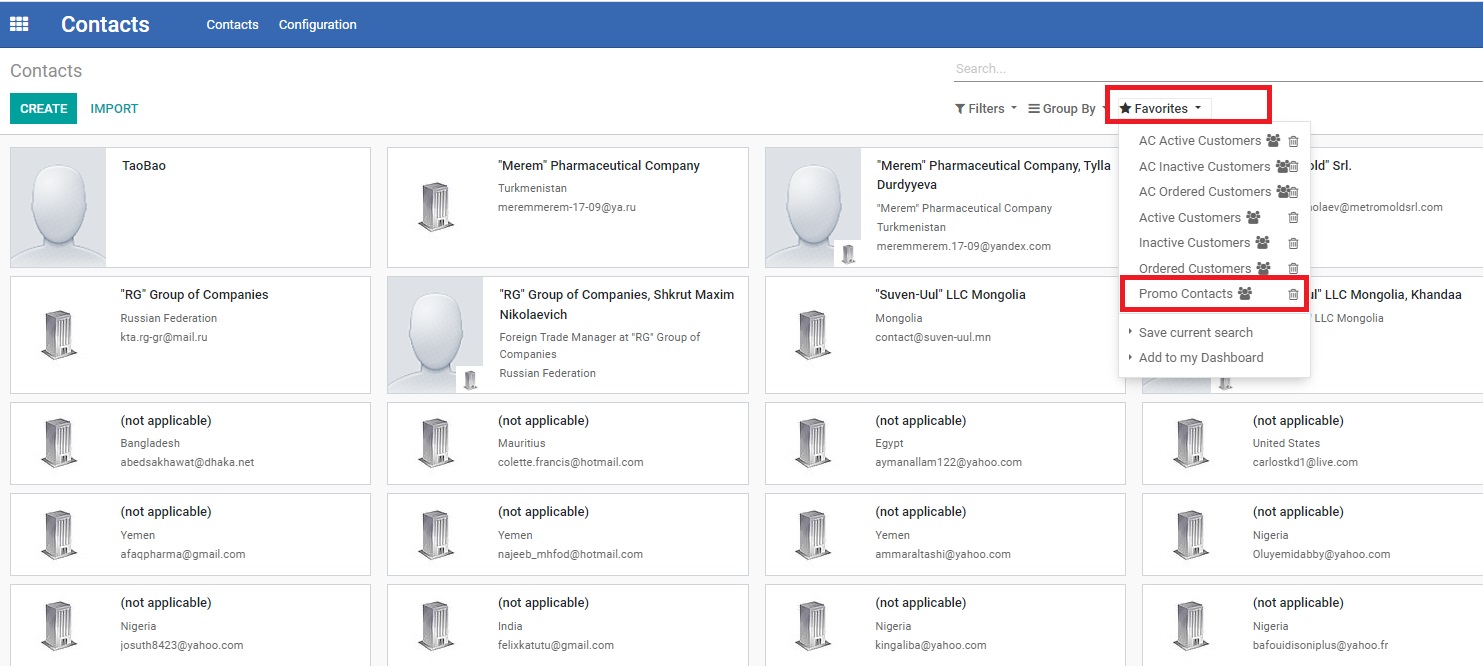
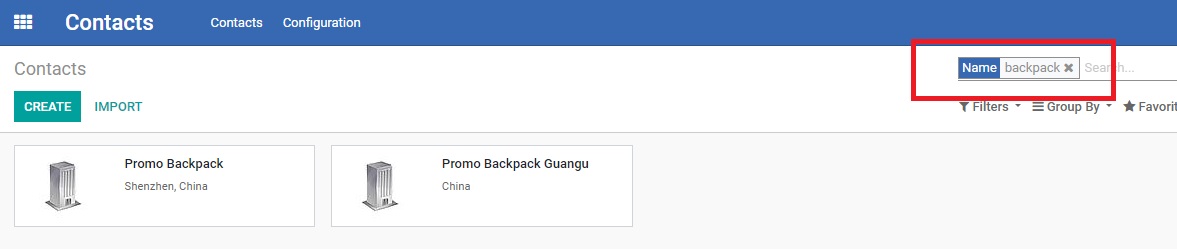
Searching for Vendors in Contacts Module

In addition to creating new Contacts, Marketing Dept. also needs to know how to use the database of contacts when it is needed to find a contact.

1. Open Contacts Module.
2. To see all contacts related to Marketing Dept, click on “Favorites” under the Search bar, and select “Promo Contacts”.

3. Review the list of Marketing contacts.
4. If it is required to search a specific contact, for example a vendor for Backpacks, then instead of selecting Favorites type “backpack” in the Search bar and click ‘Enter’. Search results will show all contacts that have the word “backpack” in the name.

Did this article help you?
 0
 0