New Contact Card Creation

| 9 minutes

New Contact Card creation is applicable when a Lead is verified as qualified and to be added to the system prior to sending the Lead Reply auto-replies. There are a few important points that Marketing Person should be aware of when creating a contact card to ensure:

Database is as complete as possible for data tracking and campaigns
Accurate information are added on correct fields
Grammatical errors are non-existing so any automated replies and campaigns involving the contact card will look professionally written
Different contacts from a same company are not misidentified as being from a different company

It is important that the above requirements are followed thoroughly when creating a new contact card, as the Contact Card database will be used again and again over time in different campaigns. The names that will be reflected on the campaigns may be pulled from each Contact Card and proofreading is not possible with such a big database. Therefore, it is imperative that the Contact Card is created correctly from the beginning .

Contact card can be created from:

● LR Module - Lead page when handling LRLR Module - Lead page when handling LR
● Contacts Module

Creating New Contact Card from LR Module

This SOP will detail the process on how to create a contact card correctly from the LR Module - Lead page:

1. On the Lead page that will be tagged as “Lead Reply ”, click “EDIT”.

2. Ignore the “Customer” field for now and proceed to fill in as much as possible the remaining fields based on the information present from the initial Lead. In the later step, the Contacts module will appear as a pop-up window and more information can be added from that viewpoint. The fields marked with * are mandatory, and with an underline it requires special care when filling in:
Note: It is important that information from the initial Lead is filled in from the Lead page as it is easier for Marketing Person to copy paste all information from the right side chatter.
Company Name*

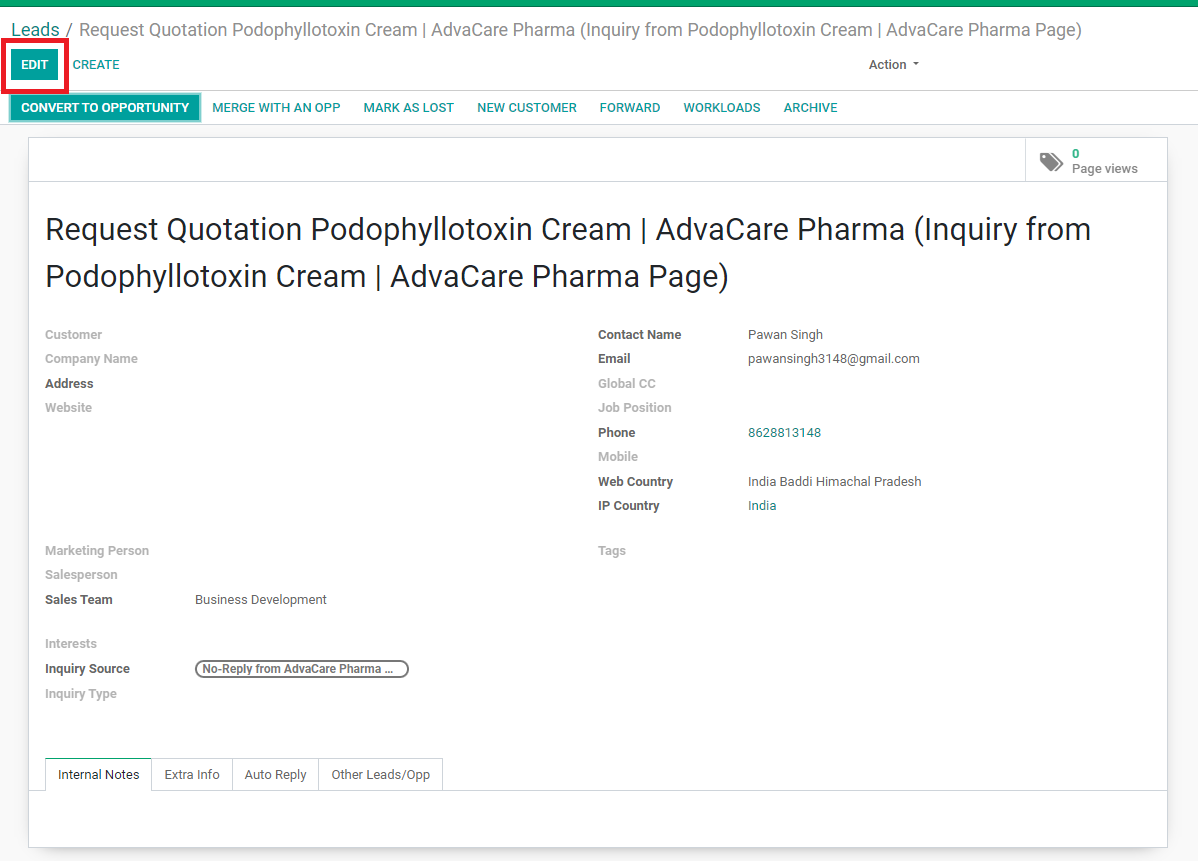
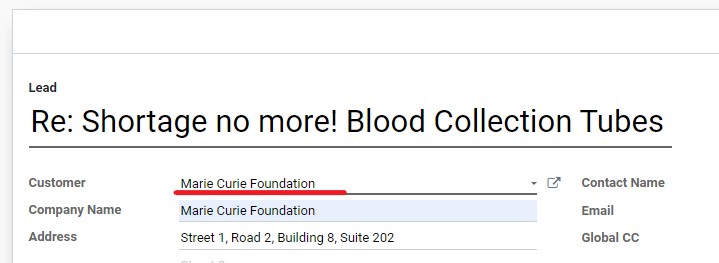
Company Name must filled out in the following manner (if the name of the company is received):

No names in all caps are acceptable; follow the proper capitalization format of Uppercase first letter followed by lowercase letters (unless the company name has an abbreviation which all caps will be acceptable).
Use period after shortened words such as “XX Co.” or “XX Ltd.”. Use a comma on the first shortened word if both are used, eg. “XX Co., Ltd.
If there is no company name information, use the contact person name.
If contact person name is also not available, write “Unknown
Note: Marketing Dept. Manager will check all the newly created company contact card names on a monthly basis.
● Address*
● Country* field must not be empty. It can be selected by typing on the empty field and selecting from the dropdown. The system will not let you save the contact card without this information.
Note: Initially, Country field to be filled in is the intended importing country for the Customer, even if the Customer is located in a different country as shown on the “IP Country”.
● Address (Street 1, City, State) fields must be filled in if the Customer address can be seen in the inquiry, with proper punctuations and capitalizations.
● Website

If there is information about the company's website, it is recommended to copy paste the website in this field to avoid mistakes. Otherwise this field can be skipped.

● Marketing Person*

Every Lead Reply must have a Marketing Person assigned. The person who will be handing the Lead needs to put his/her name.

● Salesperson*

Every new created Contact Card (except for Newsletter Subscribers) must have a BD Salesperson assigned to the given Lead. Currently it is a 50/50 split between Geetika Hirawat and Joseph Huang.

● Sales Team

This field is pre-selected and does not require any actions.

Interests*

Interests show the product range that the Customer has inquired. Interests are one of the most important fields, as they will serve the purpose of recording the product/product range that they are interested in Advacare for.

Note: If a Customer has sent multiple inquiries with different products/product ranges, make sure to record ALL interests mentioned.
Inquiry Source*

ERP Module will automatically detect the source of incoming inquiry, unless it is a direct email to sales@, social media or other uncommon inquiry sources (Phone System, Distributor Portal). In this case, Marketing Person must manually select the corresponding Inquiry Source from the dropdown.

Inquiry Type

Inquiry Type is only to be filled in if the Lead is a Lead Reply (Main Lead), and must be filled in order to select the auto-replies for LR1.

Contact Name*

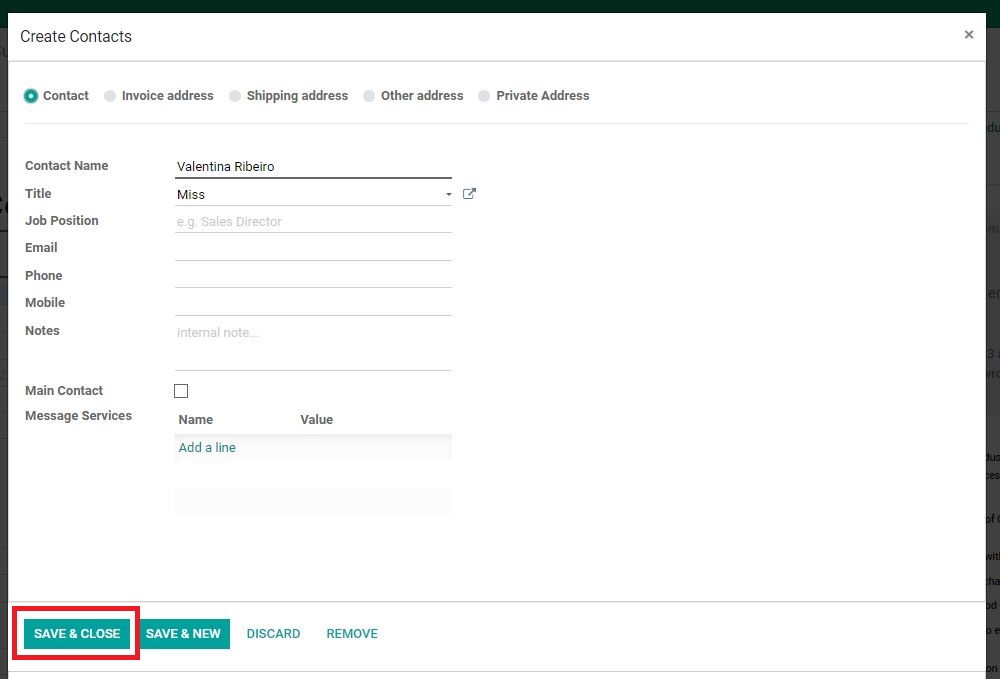
This field is mandatory if applicable. It is the Individual Person’s name rather than the Company name. If the individual person’s name is unknown, leave this field blank.

Note: This field is intended to address the inquiry Sender by Person Name basis, rather than its Company Name. It creates a more customized approach to elicit higher response rate. If the Individual person name is provided in the inquiry, this field needs to be filled in. It will also automatically pull in the same Contact Name when creating the Individual Contact Person card under the Company Card further down in the steps.
Email*

ERP Module will automatically detect the email. Marketing Person needs to read the email carefully to make sure it is written correctly as sometime typos can happen even on the basic domain such as gmail.com (gmal.com)

● Global CC

This field will be pre-filled if inquiry comes from an email with other person(s) CC’d.

Note: If there are emails in the Global CC field, these emails must be inputted as Individual Contact Persons card under the Customer Company card.

Marketing Dept. can also manually add other emails to be CC’d in the outgoing auto-replies if somehow required.

● Job Position

This field is not mandatory, however if the Customer left any information in the form/email it is good to have it recorded. This information is to be inputted into the Individual Contact Person card manually as well.

Phone

This field is mandatory if there is any phone number in the inquiry. Make sure to input the country code if indicated.

Note: often it may be difficult to identify which number is for a phone (office) or a mobile number. Regardless, all these numbers must be recorded even if it may be on the wrong spot. It is important to record the phone numbers because:
This makes it easier for BD Salesperson to communicate with the contact in the future.
For campaigns involving G-ads, social media or WhatsApp push notifications, where phone numbers are the primary link to a target person.
Mobile

This field is mandatory if there is any mobile number in the inquiry. Make sure to input the country code if indicated. As mentioned above, focus on recording all numbers rather than inputting them in the correct spots. If there are more than two numbers under one company (not individual person), put all numbers separated by a comma. If the numbers belong to different people in a company, record the numbers under each Individual Contact Cards.

● Web Country

Web Country may be automatically filled out from the contact form and will not be saved on the Customer Contact Card. It shows the country exactly as per written by the Customer on the website form. Marketing Person is to identify the actual country (country intended for distribution of the product) and input it correctly under the Address - Country field.

● IP Country

IP Country is automatically filled out by the System by identifying the Customer’s IP location when sending the inquiry. It will not be saved on the Customer Contact Card.

Note: A Customer may have different Web Country and IP Country. In the end, it is important that Marketing Person understand the inquiry and determine the Country intended for distribution to be filled in the Address - Country field.
● Tags*

Tags are applicable for each Lead, rather than the Contact card. It is important to fill in the Tags field for each processed Lead, although it will not be reflected in the Customer card. Check the part of the SOP to better understand how to fill in Tags.

Tags are ones of the most important fields, as they will serve multiple purposes:

Categorizing Leads;
Selection of the templates;
Targeting (for Marketing campaigns);
LR Reporting.
3. Once all information has been filled in as complete as possible, proceed to click on the empty “Customer” field and click the “Create and Edit” from the dropdown.

4. Once clicked, a pop up window will appear with all information from the Lead page pulled in automatically to the “Create: Customer” pop up view.
5. Marketing Person can add further information (if applicable) from this pop up window on any field, particularly the Individual Contact Cards. If an Individual Contact Person information of the Company can be seen from the inquiry, Marketing Person will need to add the individual contact card under the company contact card as well, by following these steps:
a. Click “ADD” on the pop up window view, under the “Contacts & Addresses” tab.

b. The page will then open to create the individual contact card. The “Contact Name” and “Title” fields will auto-fill from the Lead page. However, other information will not be auto-filled. Marketing Person can edit the information as applicable.
Note: again it is very important that phone numbers (office or mobile) are recorded if this information is available.
c. Once all information is updated, click “SAVE & CLOSE” to finish creating an individual contact card, or “SAVE & NEW” to create more individual contact cards.

d. The page will return to show the Company Contact Card creation pop-up window.
6. Once all information on the Contact Card is filled in as completely as possible, click “SAVE” on the bottom right corner.

7. Once saved, the Contact Card has been created in the System and connected to the Lead page which can be seen from the “Customer” field.

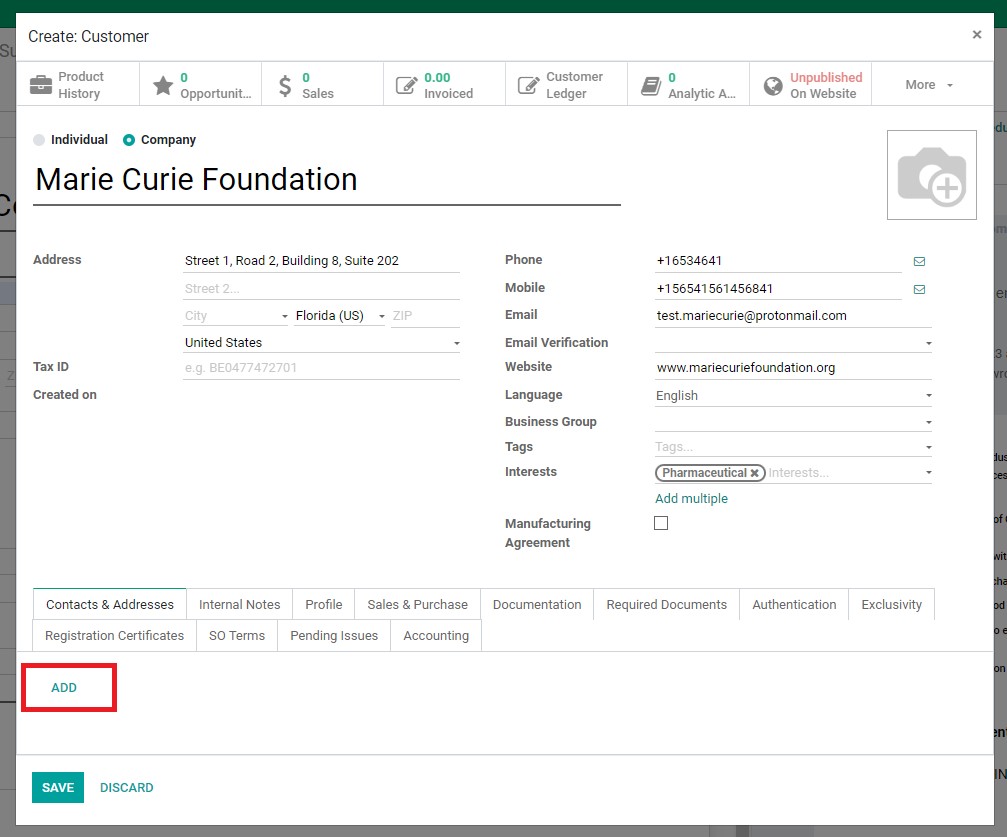
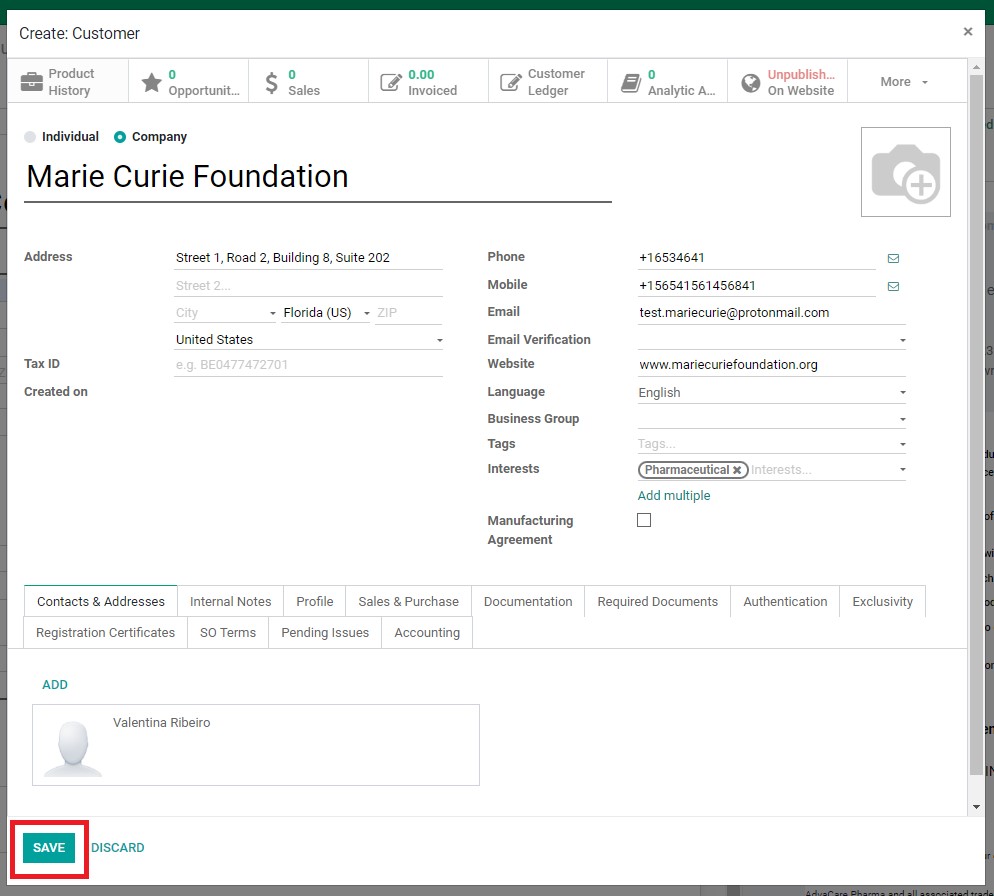
Creating New Contact Card from Contacts Module

This SOP will detail the process on how to create a contact card correctly from the Contact Module:

1. Open the Contacts module.
2. Click “CREATE”.

3. Tick the “Company” selection.

4. Input all information of the Company as per the inquiry, following the same process and rules as per the above SOP No. 2 for these fields:
Company Name*
● Address*
● Country*
● Address (Street 1, City, State)
Phone
Mobile
Email*
● Website
● Tags: leave blank unless they are Leads that came from Social Media or Newsletter Subscriber (only).
Interests*
5. Proceed to the bottom part of the page (tabs), and fill in these tabs:

● Contacts & Addresses
Click “ADD” to add every Individual Contact Person within the company, same with the above process.
● Sales & Purchase
● Salesperson* (unless it is just for Newsletter Subscribers)
6. Click “SAVE” again where “CREATE” was located.
Did this article help you?
 0
 0