|
This reference SOP is created to provide the Technical Manual, or a step-by-step guide on how to create revisions in a Newsletter draft on the Email Marketing Module.
This SOP applies from where a Newsletter workspace is opened and under edit mode.
SECTIONS
Sections refer to the parts of a Designed/Featured Content Newsletter, such as banners, text, CTAs, etc.
Removing added sections
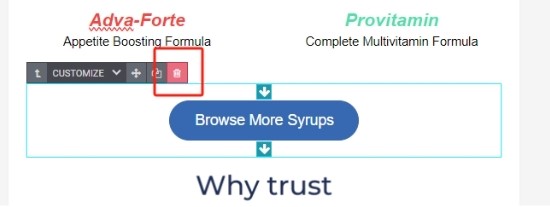
- Click on the section to be removed.
- A toolbar will appear on the top of the section, click on the trash can icon.
Adding new sections
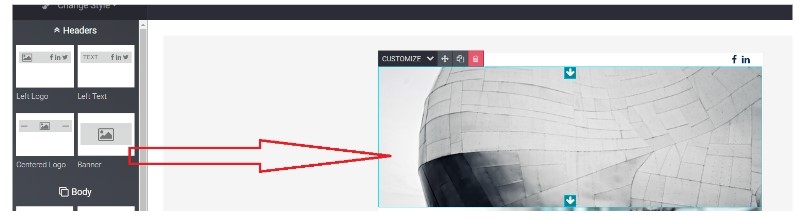
- Locate the desired section from the side toolbar of the workspace.
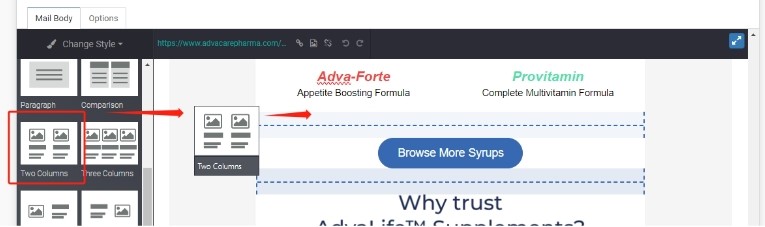
- Click and drag the desired section. The workspace will recognize the section to be added and provide blue-highlighted areas as a guide for where the section can be dropped onto.
- Release the drag on the where the section is to be added on.
Rearranging (moving) added sections:
- Click on a section to be moved.
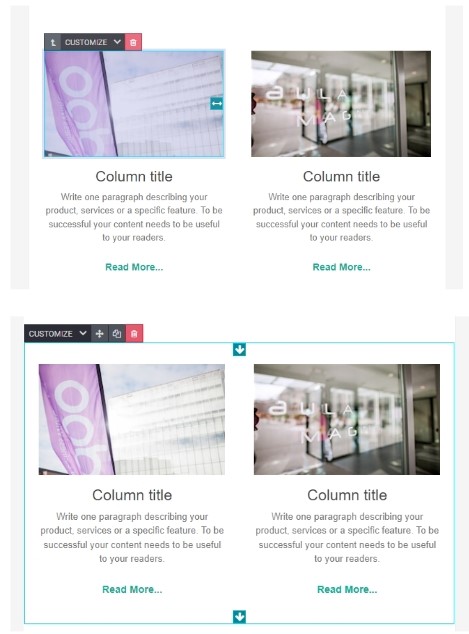
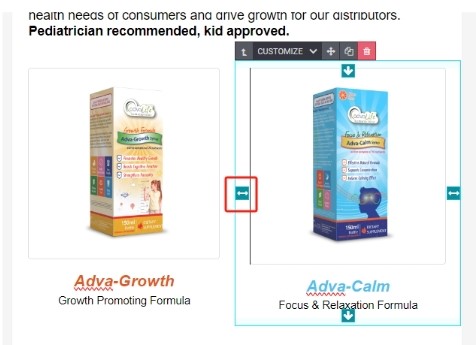
Note: some sections contain multiple rows and items of different contents (image, title, text, etc.). Click on an item to move just the item, but click on the frame area to select the whole section. The following pictures show the slot vs. frame being selected.
- Once selected, click and drag on the four direction arrow in the top toolbar.

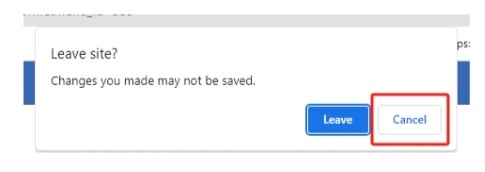
Note: Do NOT click and release. Somehow the System tries to refresh the page WITHOUT saving the changes done. A notification will pop up to warn this as it happens, make sure to click on CANCEL otherwise all revisions done will not be saved.
- Drag the section to the desired location. As per previous part, the section can be moved to any areas that are highlighted in blue.
Resizing added sections
- Click on the section to be resized, a frame with arrows on all 4 sides of the section will be visible.
- Click and drag the arrow of the side which section is to be resized to make it bigger or smaller. For sections with 2 or more rows, make sure that the items in each column are uniformly sized.
Note: Depending on the template used to show the image on, the image may not be resizable through the "section editor". In this case, the image must be manually resized from file source and reuploaded (height, width, etc.).
IMAGES
Adding an image to a plain text email body
- Locate the text edit cursor on the location where the image is supposed to be.
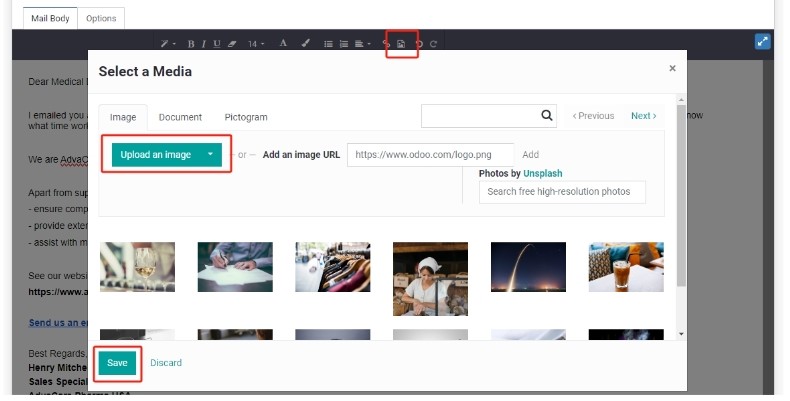
- Click on the Image icon on the toolbar.
- Click on the "Upload an Image" button. A pop up will appear. Locate and double-click to select the image.
- Click "SAVE".
Changing an image in a section
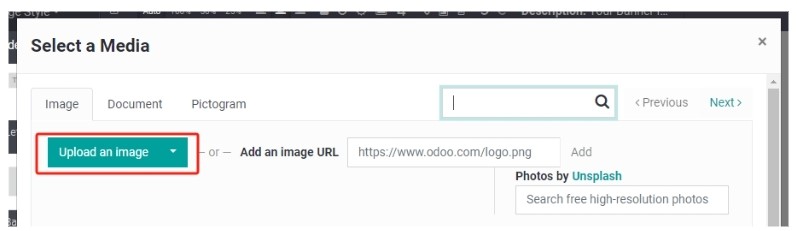
- Every section with Images that can be added in, has a placeholder image. Double click the placeholder image and the "Select a Media" pop up will appear.
- Click on the "Upload an Image" button and locate the Newsletter file source in the Server.
- Click to select the correct image for that section and click "Open". The image will be shown in the designated section.
Adding Image Description in Title and Alt Tag
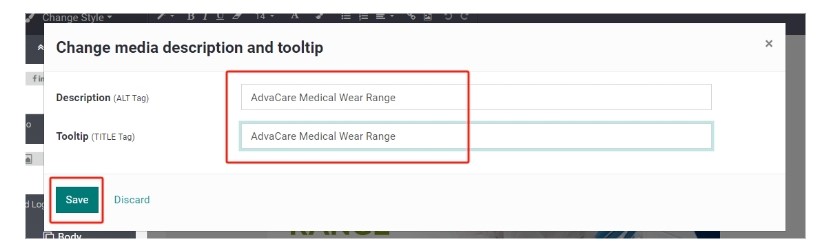
- Click on the uploaded image and click on the "Description" button from the toolbar.

- Input a description of the image as how the recipient should see on the "Change media description and tooltip" pop-up. Generally this will be a short description about the AdvaCare Product, Range, Market or Brand. Copy and paste the same text into "Tooltip". Click "Save".
Adding links to Images
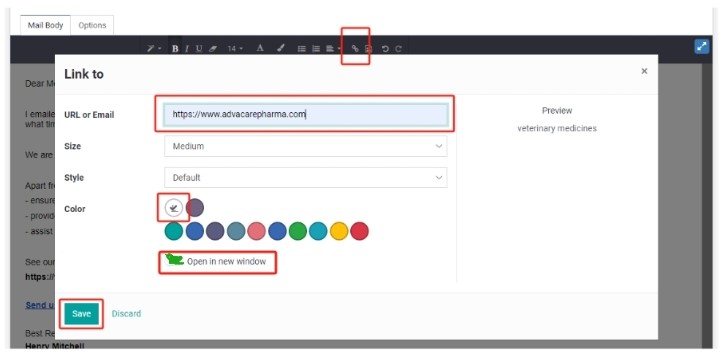
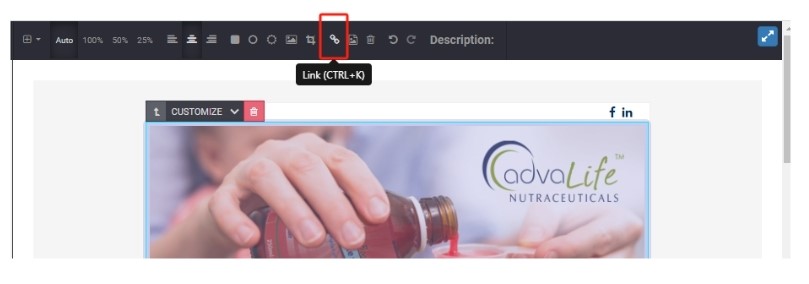
- Click on the desired image.
- Click to select the Link icon to Insert Link on the Mail Body Toolbar.
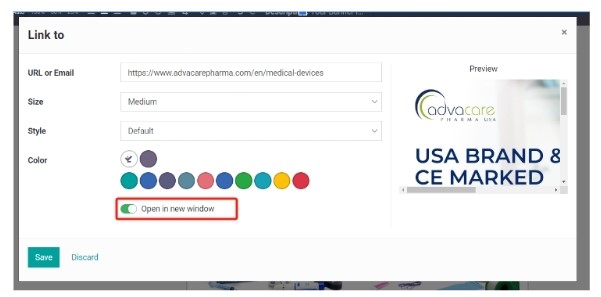
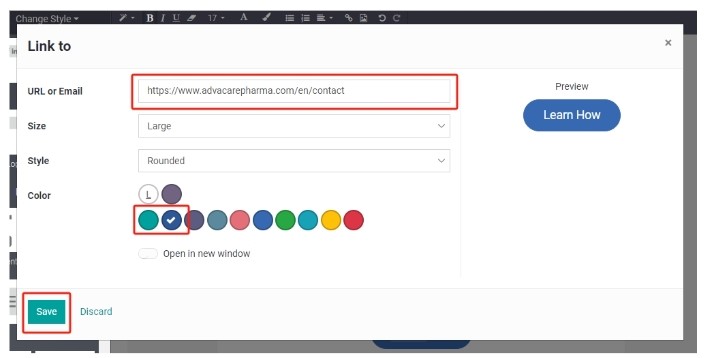
- A pop up "Link to" page will appear.
- Copy and paste the intended destination link to the "URL or Email" field.
- Click to select Yes for the "Open in new window" button.
- Click "SAVE".
TEXT
Styling texts
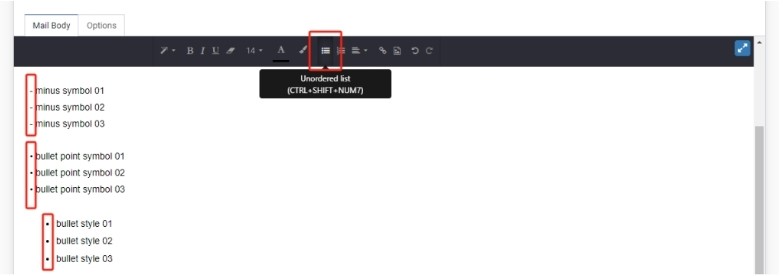
- Use of bullet points if content is a list of more than 2 items
Bullet points can be added either manually using ( - ) symbol, pasting a bullet point symbol " • ", or using the bullet point styling format available on the workspace. Select a suitable option with the overall template.
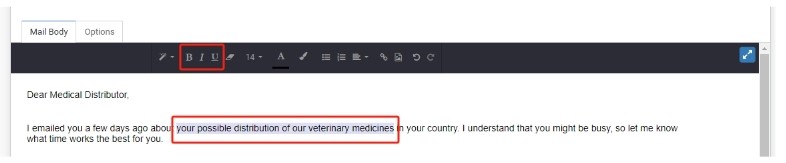
- Use bold, underline or Italic font style on the keywords
Select the text to be styled and click on one of the icons on the top toolbar for: B (Bold), I (Italic), and U (Underline).
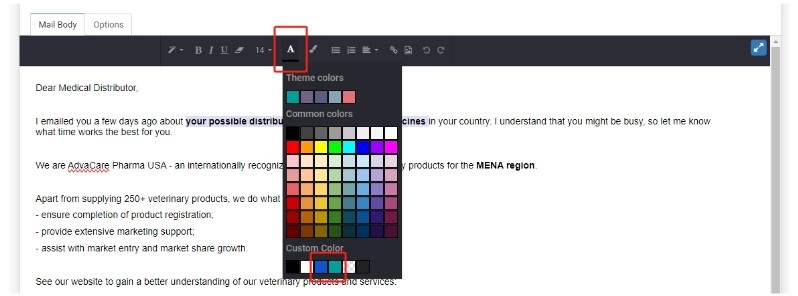
- Change the font color of the keywords/links
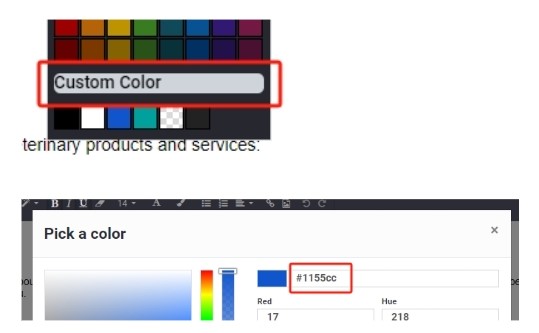
Select the text to be colored and click on the A font color icon on the top toolbar. The standardized color options used can be selected under "Custom Color", which are the blue and turquoise colors.
Should these colors are not available under the quick access view, click on the "Custom Color" button and input the color codes in the field, and click "Choose":
Standard colors according to AdvaCare branding guidelines are:
Adding a hyperlink to a text/phrase
- Select the text/phrase to add hyperlink to.
- Click on the Link icon on the toolbar.
- Paste the intended link to the "URL or Email" field.
- Use the default settings for the size and style, and select the Color: L (clear color).
- Tick the "Open in new window" button.
- Click "SAVE". The hyperlink text will automatically have the default turquoise color, which can be adjusted if required. This step will be covered in the following part of this SOP.
ATTACHMENTS
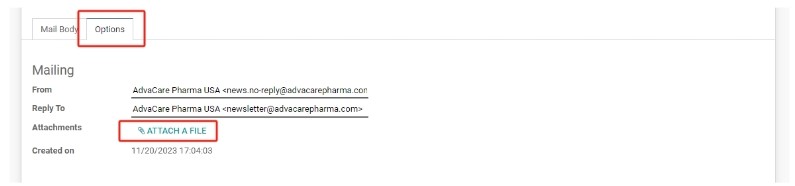
Adding attachments
- Click on the "Options" tab on the workspace.
- Click on the "ATTACH A FILE" button.
- A pop up will appear. Locate and select (or multiple select) the files to be attached, and click on "Open".
- The files will be uploaded and can be seen as file icons under the "Attachments" section. Repeat as required until all attachments are added.
- Click on the "Options" tab
PERSONALIZATION
Pulling Recipient Contact/Company Name
The contact/company name can be pulled in the template by using these placeholders:
- Contact Name/Company Name: {{contact_name}}
Note: Contact Name pulls the information following this rule.
- [Individual Person Name]
- If a is blank, it will pull --> [Company Name] Team
- If b is "Unknown", it will pull --> Medical Distributor
Make sure to check how it will apply for the set Recipients.

Pulling Recipient Country
The country field of the Recipient can be pulled in the template by using this placeholder:
- Country: {{country_name}}
CTA
Revising a CTA
- If the CTA is already in place from the template used, double click on the CTA button and a "Link to" pop-up will appear.
- Proceed to copy and paste the new intended link for this Newsletter under the "URL or Email" field. Adjust the Color of the button if required to make sure it does not clash with the other sections of the Newsletter overall.
- Click "Save".
Note: The general colors used for the CTA is blue, followed by the turquoise color. Other settings include Size: Large and Style: Rounded, which should be defaulted from the template.
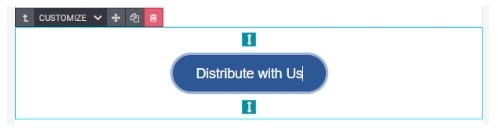
- Once the link is added, proceed to revise the Shown Text of the CTA button by single clicking on the text of the button.
- The text edit cursor will be visible on the text box. Type in the new intended Shown Text.
Adding a new CTA section
If a new CTA section is to be added in the draft, the best way to do so is by duplicating existing CTA from the template.
- Locate the existing CTA from the Newsletter Template and click on the section.
- Click on the "Duplicate Container" icon on the top toolbar.
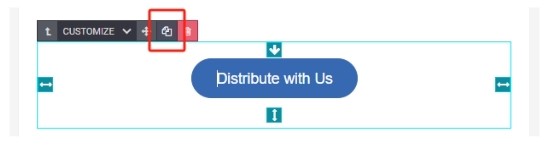
- A duplicate will be created and this section can be moved freely to the intended placement. Edit the Link and Shown Text as per the steps explained in the previous part of this SOP.
|