Printers Set-up
| 7 minutesThis SOP will train the IT Administrator to install the 3 printers we have in AdvaCare:
1. Samsung M267x 287x Series Printer Installation
Printer Support contact
In the following link the IT Manager will find the Printer Support contact.
More information
The printer manual and further information can be found in the “Samsung M267x 287x Series” folder.
2. Canon MF633C635C UFR II V4 Printer Installation
To install the Canon printer, follow the same process to install the Samsung printer, choosing a different IP address.
Printer Support contact
In the following link the IT Manager will find the Printer Support contact.
More information
The printer manual and further information can be found in the “Canon MF633C635C UFR II V4” folder.
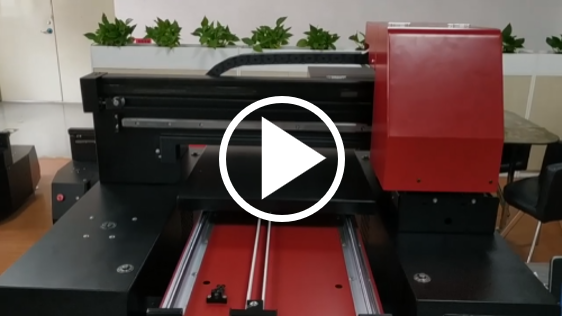
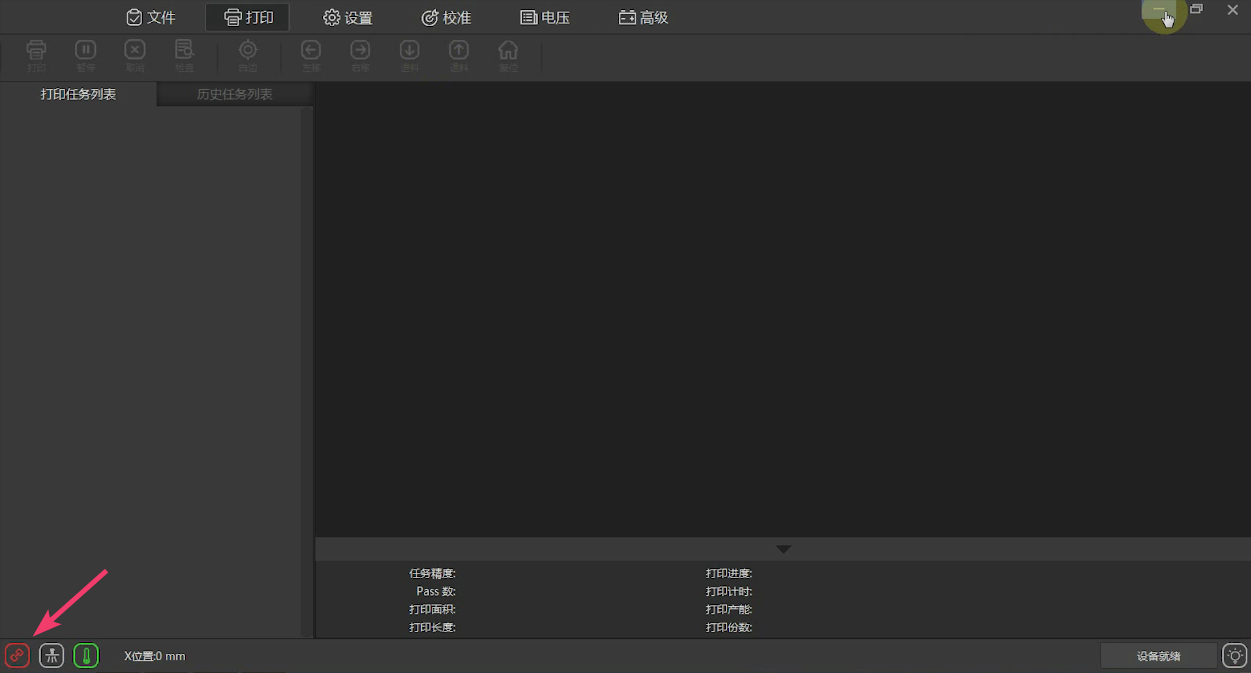
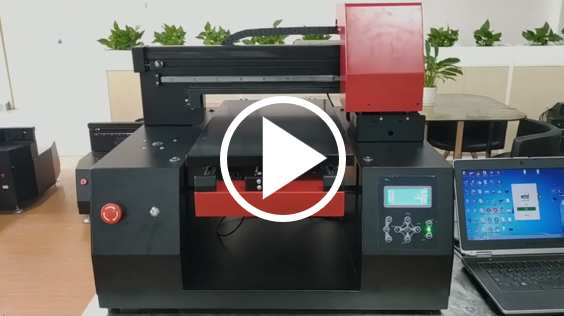
3. ZZ1 3D Printer Installation
To install the ZZ1 3D printer, follow the steps below:
Step 1:
The above information can be seen in the video below:
Video 1
Step 2:

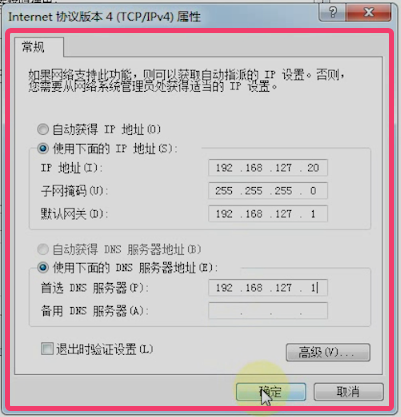
The above information can be seen in the video below:
Video 2

Step 3:
The above information can be seen in the video below:
Video 3
- It is recommended to print images in TIFF format.
- When installing the application, the language of the installer and the language of the computer must be the same. Otherwise the application will be displayed with random characters and the graphical interface will not be readable.
- It is not possible to print files where the file name contains Chinese characters.
- Usually, the 2 applications (RIPrint and PrintExp) should be open at the same time.
Printer Support contact
In the following link the IT Manager will find the Printer Support contact.
More information
The printer manual and further information can be found in the “ZZ1” folder.