Handling Templates in Odoo
| 4 minutesThis SOP will guide the IT staff in the administration of templates in Odoo that are used in different modules of the system.
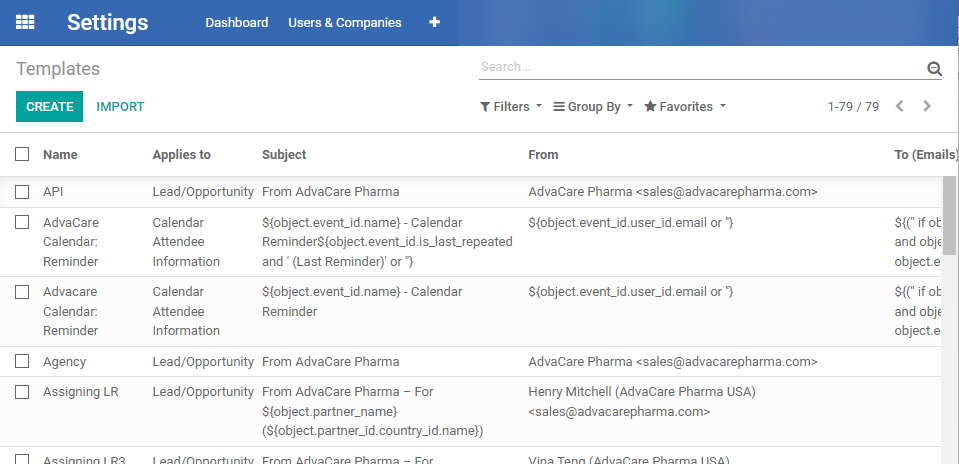
1. View existing Templates
To see the existing template, it’s only necessary for the IT member to go to the“Templates” in the following path:
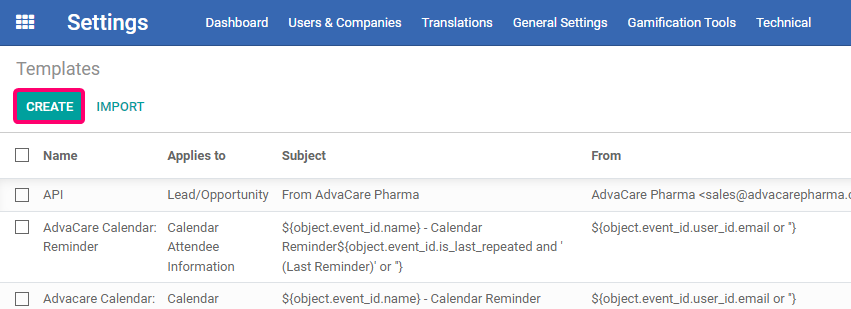
2. Create templates
- To create a template, the IT member must go to the module“Templates” in the following path:

Note: it will be required to have the debug mode activated.
- After the IT member is already in the module of “Templates”, must click on the button “Create” located at the top left of the screen.
- Enter the information in the fields shown below:

| ID | Field name | Description |
| 1 | Name | Alphanumeric text field where the name of the template is recorded. |
| 2 | Applies to | Selection field to choose the model where the template will be linked to. |
3.1 Referring to the "Content” tab:
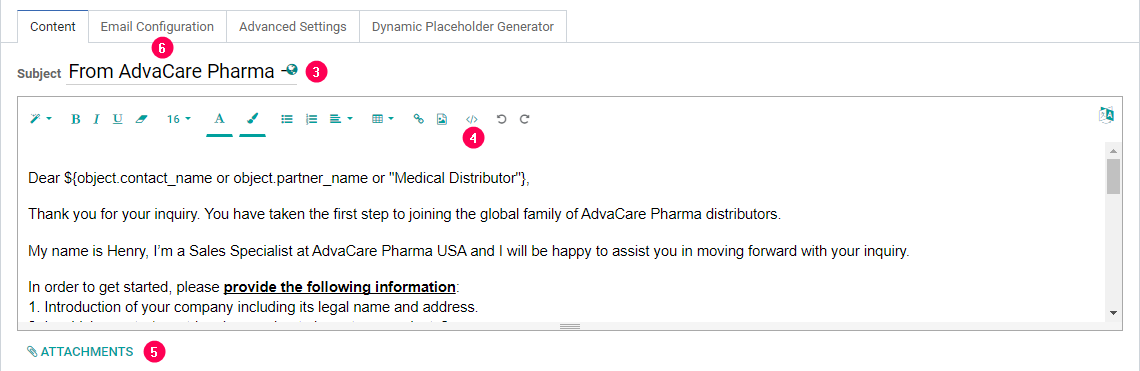
| ID | Field name | Description |
| 3 | Subject | Alphanumeric text field where the subject (to be displayed in a sent email) is written. |
| 4 | Body | Long text field where the content of the email must be entered. There is an option of using the default text editor or HTML code. |
| 5 | Attachments | File upload field where 1 or more files are uploaded, with a limit of 40 attachments to be included in the email. |
After entering the information in the 3 fields described above, click on the “Email Configuration” tab.
3.2 Referring to the "Email Configuration” tab:
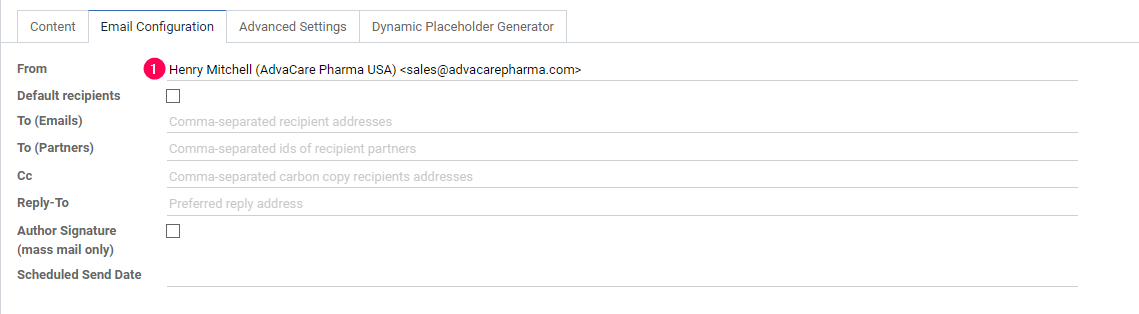
| ID | Field name | Description |
| 1 | From | Alphanumeric text field where the name and email of origin must be recorded (mandatory). |
| 2 | Default recipients | Optional marking field to confirm if it will assign default emails. |
| 3 | To (Emails) | Optional alphanumeric field to register the emails by default in case the previous option has been checked. |
| 4 | To (Partners) | Optional alphanumeric field to register the partners by default (optional). |
| 5 | Cc | Optional alphanumeric field to register the emails that will receive a copy of the message. |
| 6 | Reply-To | Optional alphanumeric field to record the name and alternative email where the sender must reply. |
| 7 | Author Signature | Optional marking field to confirm use of sender's signature |
| 8 | Scheduled Send Date | Optional text field to assign a date of sending the email. |
After entering the information described above (at least the “From” field), click on the “Advanced Settings” tab.
3.3 Referring to the "Advanced Settings” tab:

| ID | Field name | Description |
| 1 | Language | Optional alphanumeric text field to record the language of the email. Preferably, use the “English” value. |
| 2 | Outgoing Mail Server | Optional alphanumeric text field to record Outgoing Server name. Preferably, use the Amazon value, and as a second alternative the Gmail value. |
| 3 | Auto Delete | Optional marking field to record if the email will be automatically deleted. |
| 4 | Optional report to print and attach | Alphanumeric text field that allows adding additional text to the email. |
After entering the information in the optional fields, additionally the IT member has the option to click on the “Dynamic Placeholder Generator” tab where will find information about the fields that dynamically can be captured from the database and be used for reference purposes in the creation of the email body (reference “Content” tab -> Body)
3.4 Optionally, referring to the "Dynamic Placeholder Generator” tab:
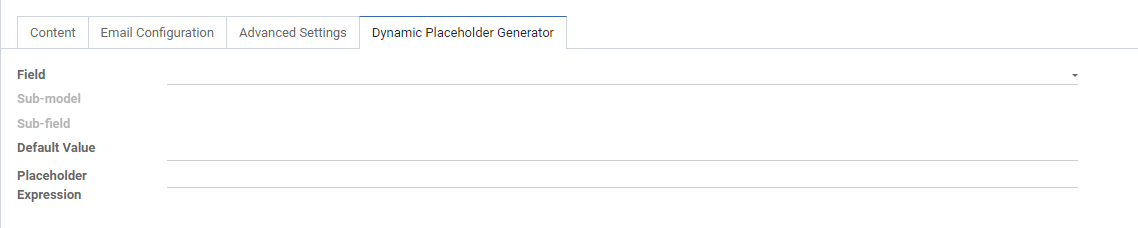
| ID | Field name | Description |
| 1 | Field | Selection and search field to choose the field from which the information will be extracted. |
| 2 | Default Value | This will be the default value that this dynamic field will display. |
| 3 | Placeholder Expression | Variable to be entered in the template. |
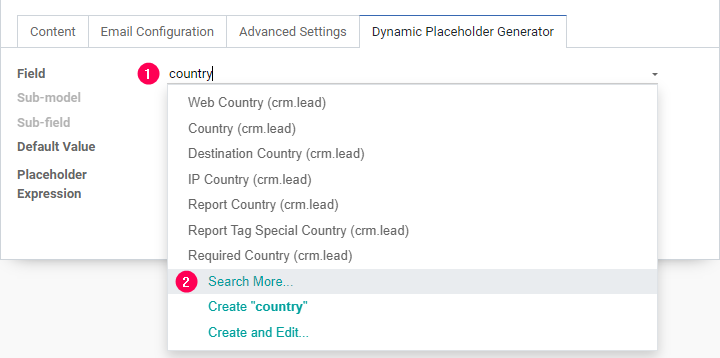
Suppose the name of the country of the person who sent a message is required. To get it, follow the steps below:
- Click on the drop-down field "Field", and write the word “country”.
- Click on the option "Search More...".
-
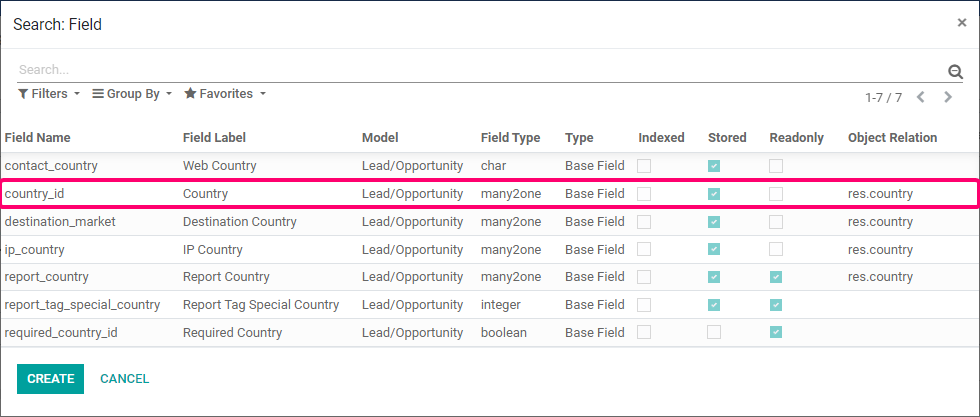
Identify the required field. In the "Field Label" column, here it’s possible to read the name of the required field, which in this case is "Country".
-
Click on the identified record.
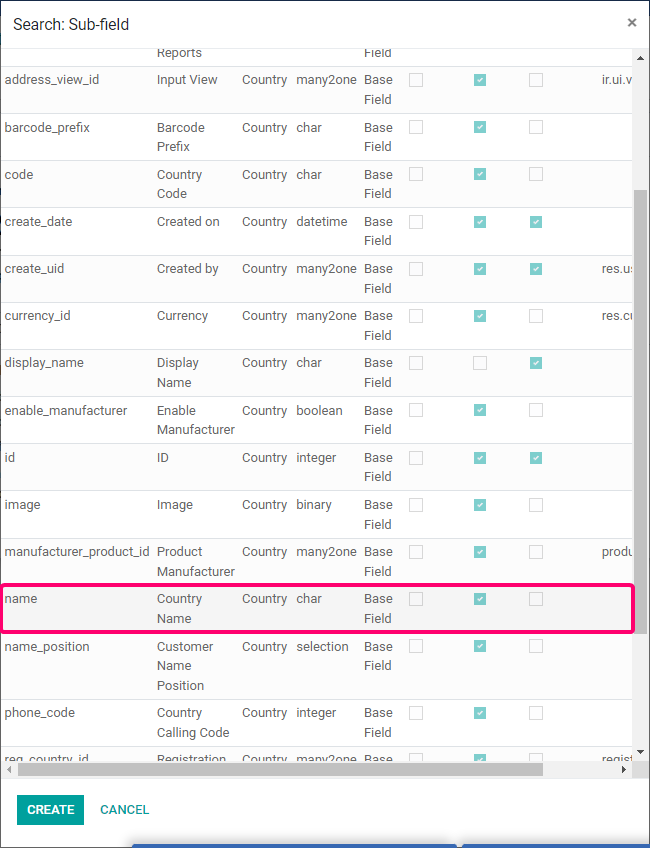
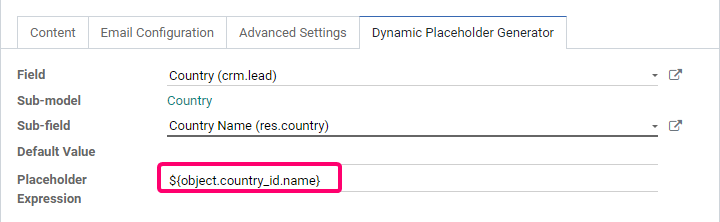
- At this point the "Placeholder expression" field will have already displayed a value automatically. Now, click on the "Sub-field" drop-down field.

- In the "Field Name" field, find the entry corresponding to "Name" and click on it.
- Copy the automatically generated text in the "Placeholder Expression" field and paste it into the appropriate place in the template ("Content" tab).
Finally click on the “Save” button to record the template information.
3. Modify Templates
To modify a template, the IT member will need to heading down to module “Templates” in the following path:
- Click on the template to be modified.
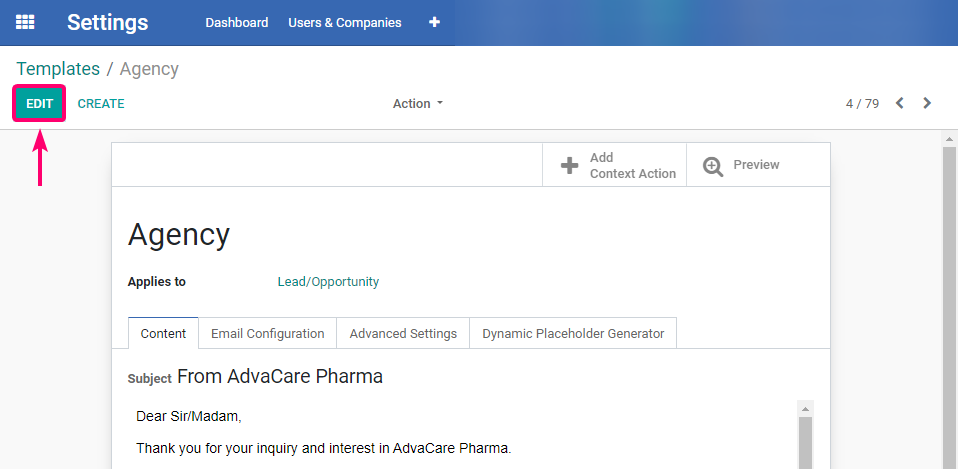
- Click on the button "Edit” located at the top left of the screen.
-
Edit the field to be modified (the fields were described in step “create templates”).
-
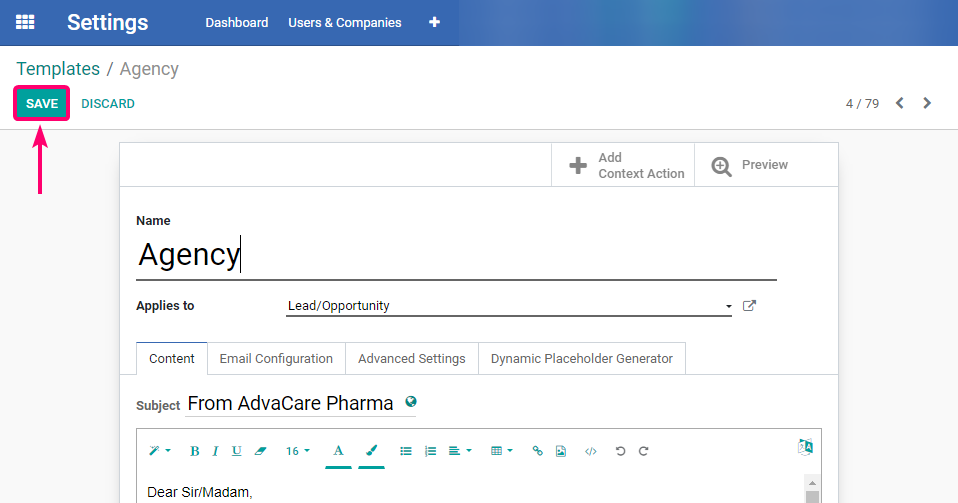
Click on the button “Save” located at the top left of the screen.
4. Delete Templates
To delete a template, the IT member will need to heading down to module “Templates” in the following path:
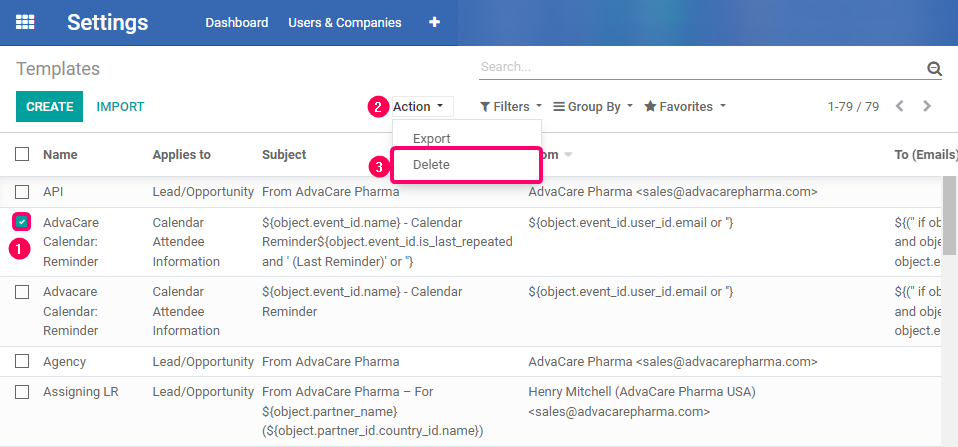
- Click on the check box of the template to be deleted.
- Click on the drop-down field “Action”.
- Click on the option “Delete”.
Note: make sure the deletion of the record has been properly requested. Also, check carefully that only the templates to be deleted are selected, otherwise it will incur in loss of data.