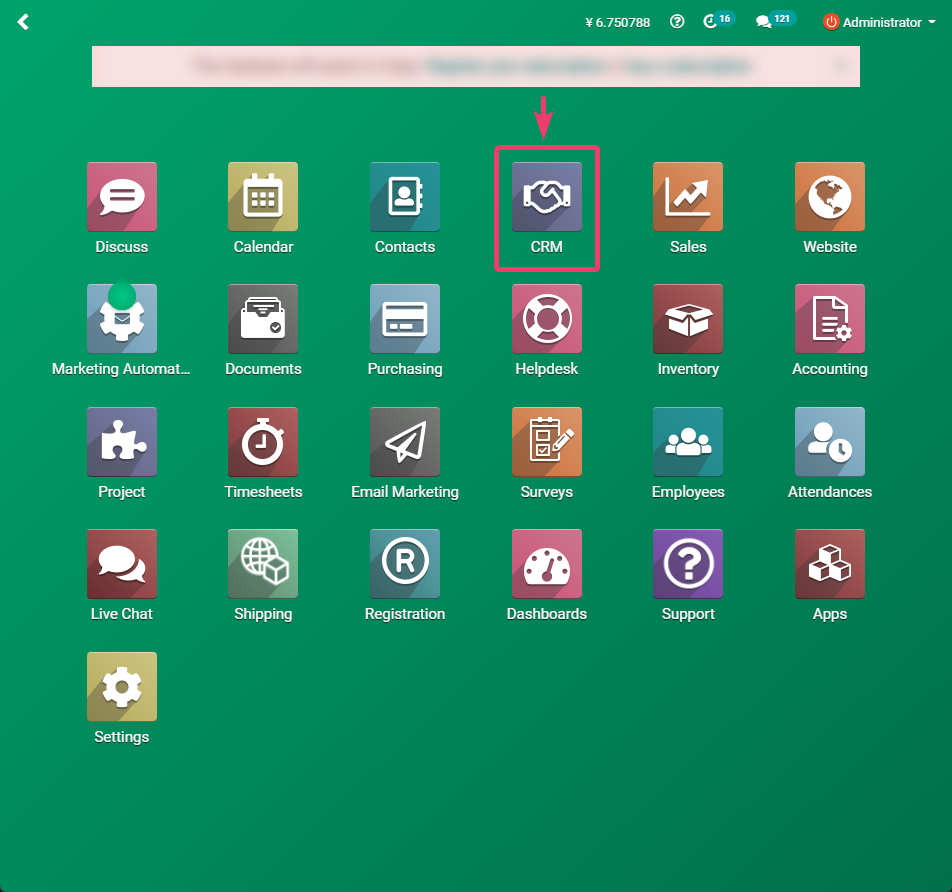
Handling Auto Reply
| 2 minutesAn Auto Reply is used mainly for the process of Handling Lead Replies (LR0, LR1, etc.). So the idea here is to automate the sending of emails to follow up a response (interest) of a potential Customer to acquire our medical products.
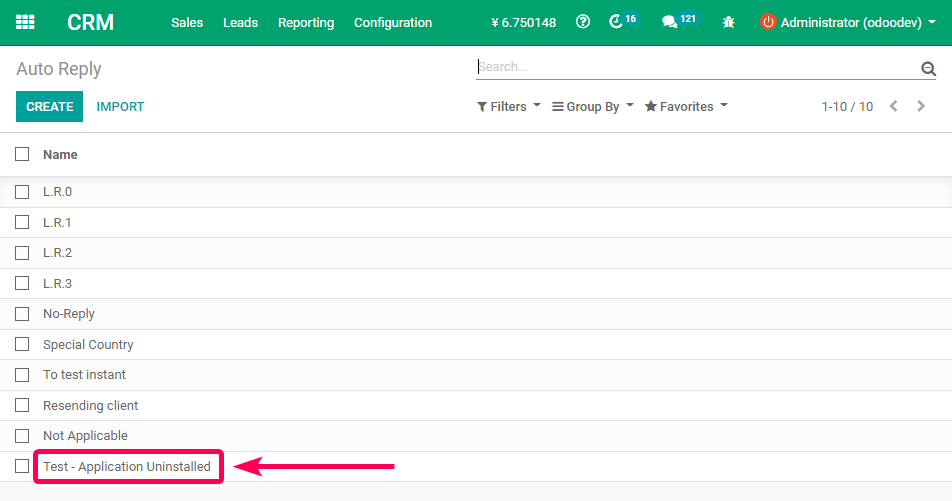
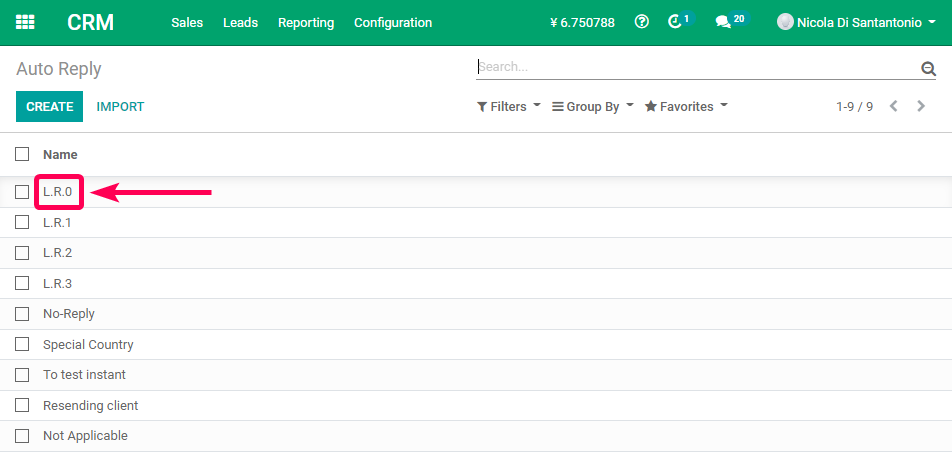
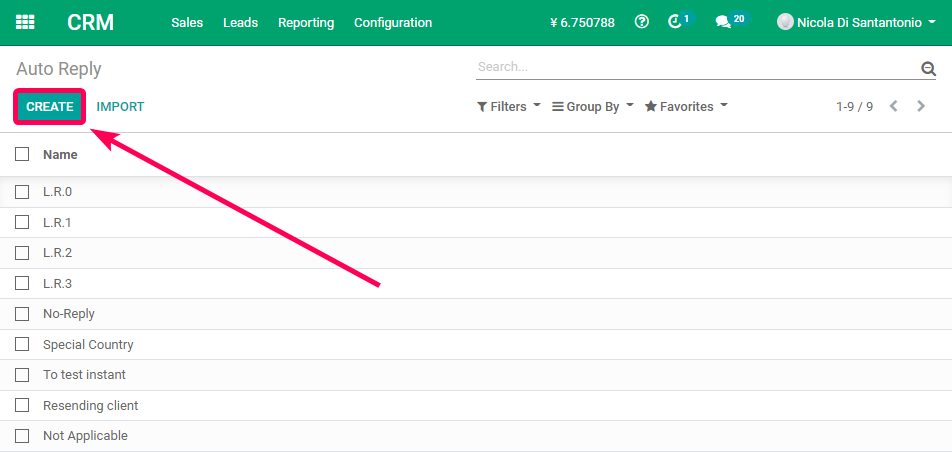
1. View existing Auto Reply
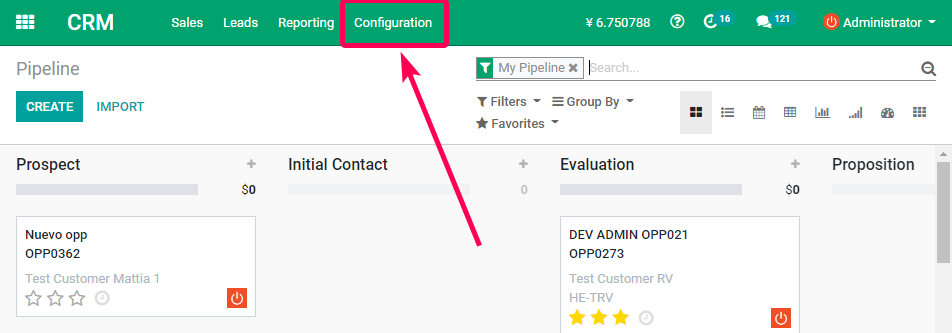
To view the existing "Auto Reply" follow the steps below:
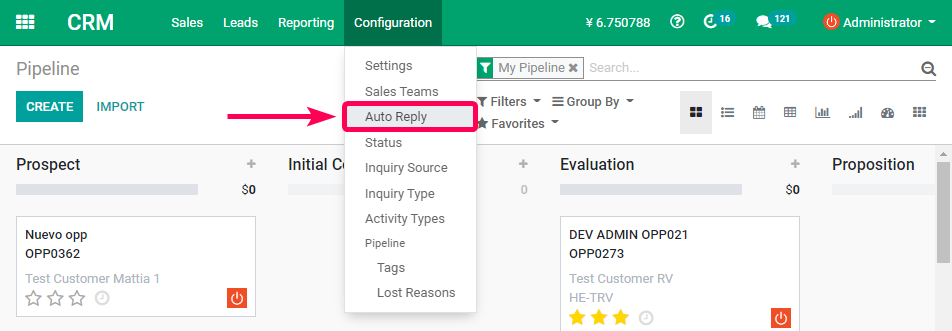
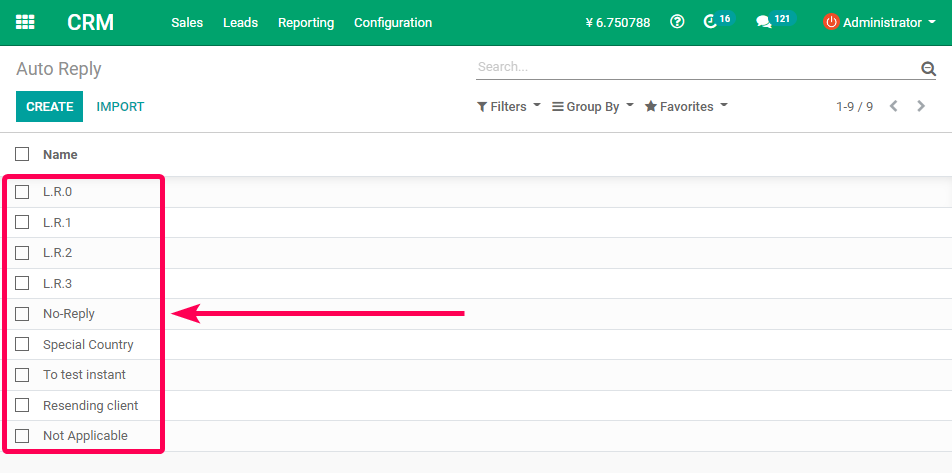
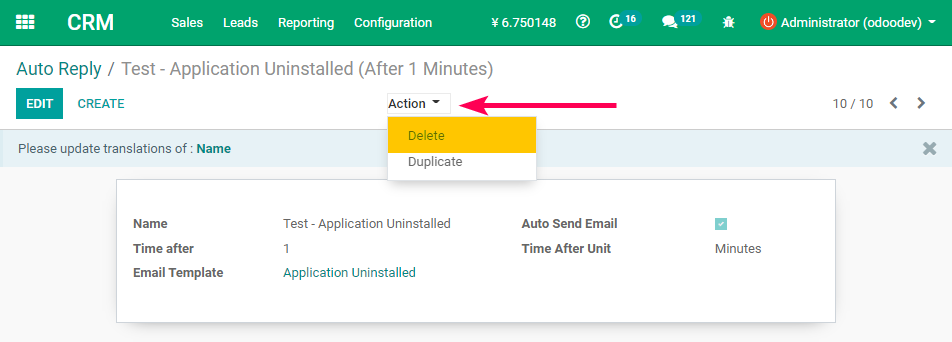
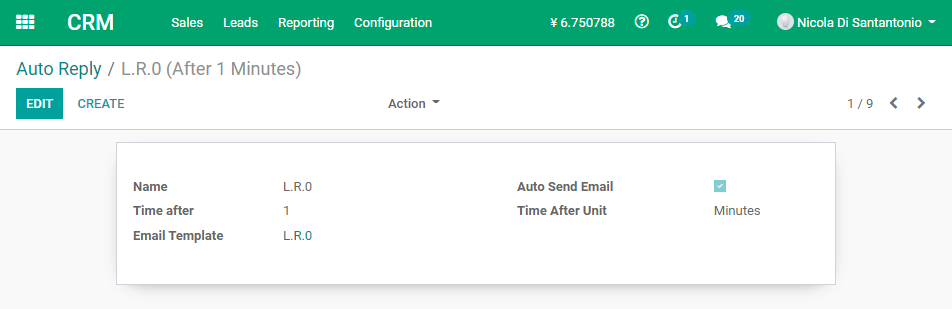
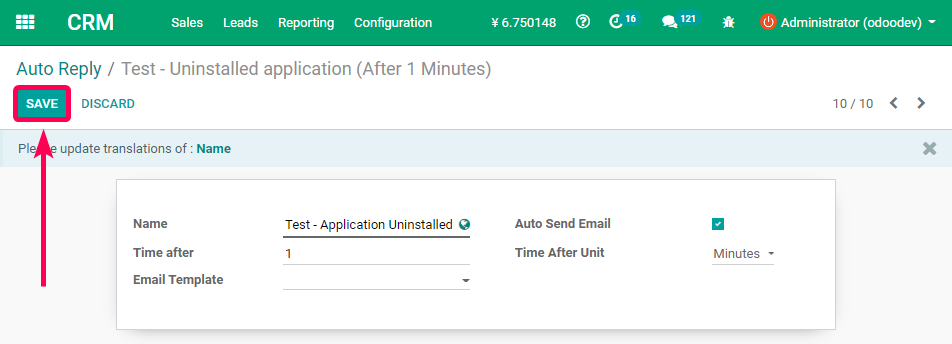
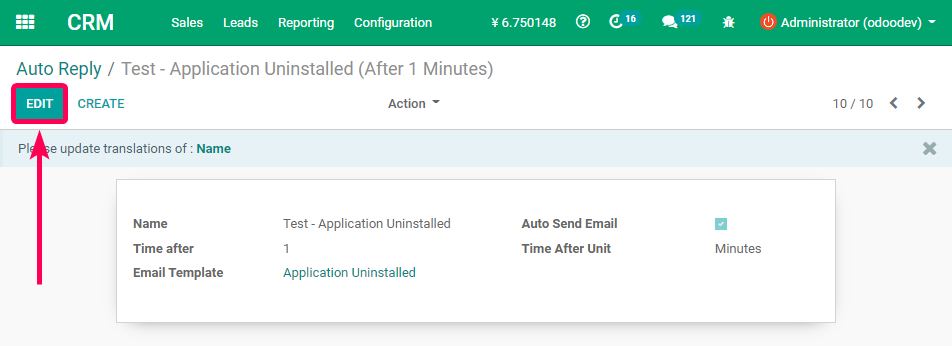
View details of an Auto Reply
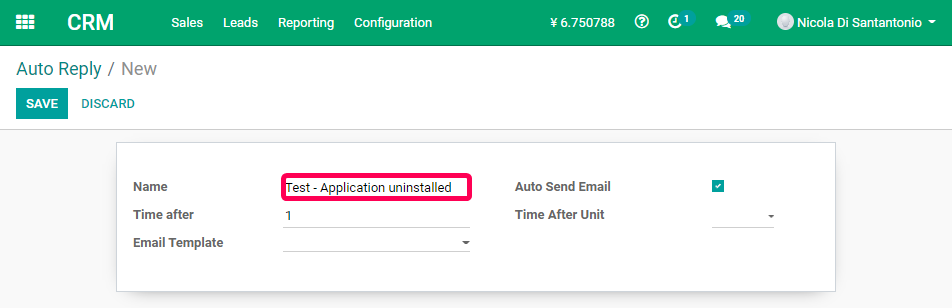
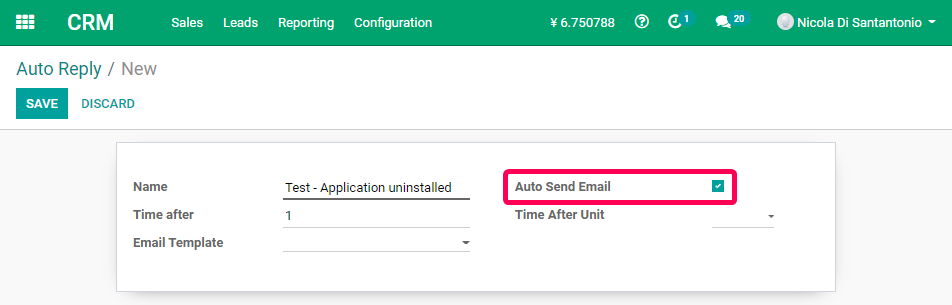
2. Create Auto Reply
To create an Auto Reply follow the steps below:
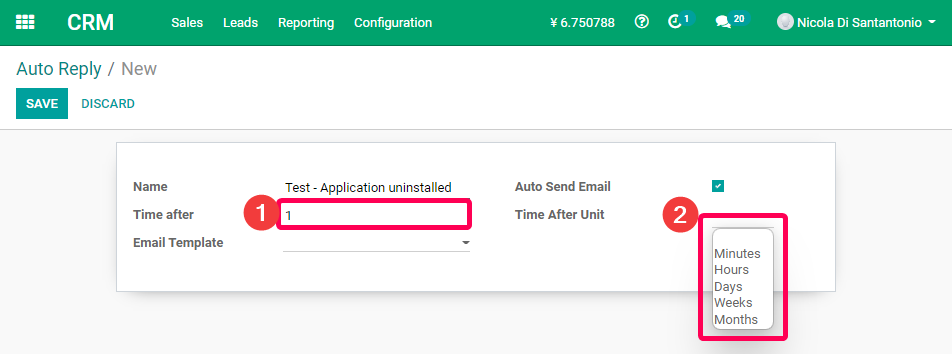
"Time After Unit" field is measured in time units (minutes, hours, etc.) as displayed in the image below.
There are no recommended values to choose for "Time after" and "Time After Unit" fields. It would be up to the creator of this record the values to choose for "Time after" and "Time After Unit" fields according to its business needs.
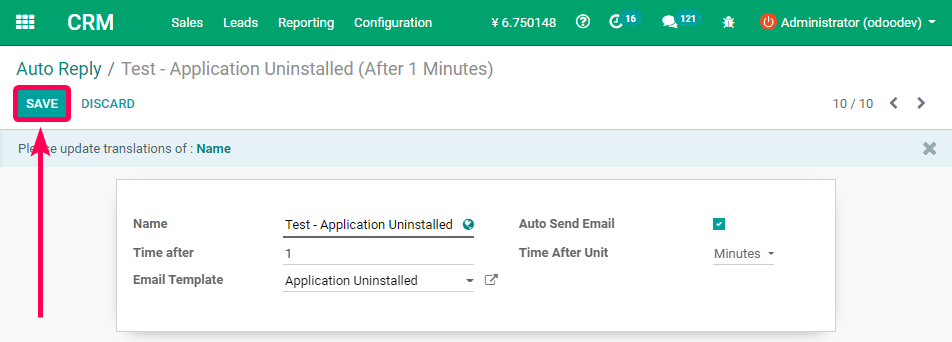
In order to use the template to be added, the Auto Reply changes must be saved at this point.
Click on the "Save" button to continue.
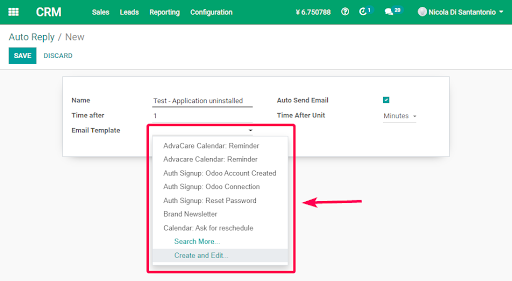
Here, it is possible to choose one already created or to create one from scratch.
If a template of scratch is to be created, choose the option “Create and Edit” and find the information to create one on the " Email Templates " page.
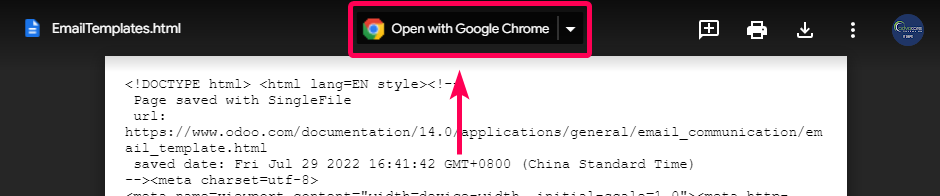
To open the link, click on Open with Google Chrome.
3. Modify Auto Reply
To modify an Auto Reply follow the steps below:

4. Delete Auto Reply
To delete an Auto Reply follow the steps below: