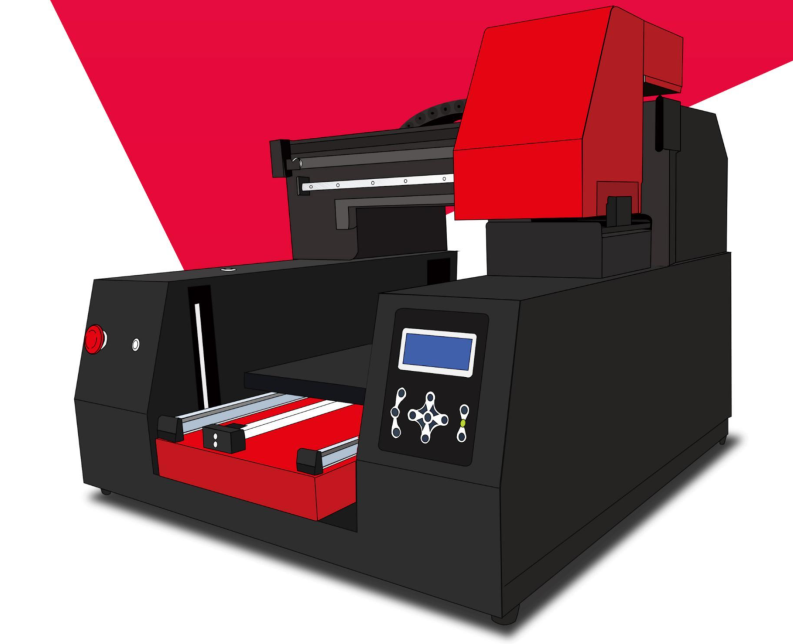
Use of ZZ1 3D Printer
| 7 minutesThis user manual will train the person who wants to print on the ZZ1 3D Printer.
1. The basics
Note: The process described below can be seen in "video 1".
2. Open “PrintExp” and “RIPrint” applications.
3. In “RIPrint”, click on the “Import” menu.
4. Find the image to print in Windows explorer.
5. Place the image in the upper left canvas with no margins.
6. Click on the “Print” menu.
7. Select to print from “TCPIP”.
8. Click on the “Print” button.
Note:
- It is recommended to print images in TIF format.
- In the case of printing pregnancy test stick packaging, we should select single-item printing. Due to this pack is not flat, using a single print can reduce the effect of ghosting.
- If the color of the white ink is yellowish, then the white ink needs to be fully stirred, so that the color will be normal.
- It is not possible to print files where the file name contains Chinese characters.
- The 2 applications (RIPrint and PrintExp) must be opened at the same time.
2. Adjusting the print position
Note: The process described below can be seen in "video 2".
1. Place a color block on the platform used as a reference standard for the print position. This color block picture can be found in the ”Test pictures” folder. Use this image as a reference.
2. If the person who wants to print wants to move this image to the left, he/she needs to adjust the x-axis x white border.
3. Go to the print x t software, and find the x white edge of the white edge settings. This is what controls the print position to the left or to the right.
4. Move the picture to the left to move 100 millimeters.
5. Enter 100 on this side of the x hundred side, remember to click on Save parameters after finish. If the person who wants to print doesn't click Save Parameters, the change will not work.
6. Open the “RIPrint” application, and reprint the color block to check if the print position has been changed. As the person who wants to print can see, the print position has been changed.
7. If the person who wants to print wants to adjust to the right side, the principle is the same. For example, the person who wants to print thinks the printed image is too far to the left, go to the right 30 millimeters, and this is 100 minus 30 millimeters equals 70 millimeters divided by 70, the printed position will be moved to the right 30 millimeters.
8. To adjust the picture before and after the print position needs to be adjusted, is the y-axis y white edge.
9. Go back to the application, find the white edge settings y white edge, this is to control the front and back movement.
10. Print the color block again, check the picture, the print position has been changed.
11. Now print a positioning frame, the role of the positioning frame is to let the person who wants to print know where he/she should put the object he/she wants to print on the platform.
12. This allows the person who wants to print to accurately print the picture to the object he/she wants to print. The method of placement is to align the picture he/she wants to print with the two lines on the line.
13. This picture can be found in the ”Test pictures” folder.
14. Now put the acrylic on the position of the positioning frame, and adjust the print height, print height should be 2 to 3 millimeters.
15. After the adjustment is ready to play the field.
16. The person who wants to print can now drag and drop it directly into the software for printing.
3. White ink printing
Note: The process described below can be seen in "video 3".
1. Place two tiles, respectively, black and white tiles placed in order to distinguish what base color needs to print white ink and what base color does not need to print white ink.
2. Black tiles of the color are necessary to print white ink to the bottom, otherwise it will produce a color mixing effect, thus causing visual printing color to not match.
3. See the white tile side to white as the base color, the material is not required to print white ink.
4. Because the base color is originally white, print up will not produce a color mixing effect.
5. Go to the two tiles in the case of non-printing white ink to see what the printed effect is like.
6. The person who wants to print will see directly printed on the white tile, the color is normal, no visual mis-color phenomenon.
7. Now print directly on the black tile and see what the effect is.
8. The person who wants to print will see that the color is now shown completely and printed out does not match, this is the phenomenon of color mixing.
9. Printed color will be changed by the base color.
10. Continue to print this black gear printing, plus a step to print white, see what effect the print out.
11. The person who wants to print will see that the machine will print a layer of white ink to pad the base before printing the color block.
12. In the case of printed white foam, showing that the color has been normal.
13. Now to summarize, that is, the base color is white, no need to print white ink, the base color is dark, such as black, yellow, blue, red, purple, this color is required to print white film to pad the bottom.
14. Demonstrate the entire process of printing white foam, first of all, the need to print the picture into “RIPrint” software.
15. The person who wants to print will see the upper right corner of a white foam settings lock machine to open here. Plug the dongle into the computer before, otherwise it will report an error.
16. See the data generation method.
17. The person who wants to print will see this has a lot of options, what these options are for, will talk about in detail later.
18. Let's choose “Fill All” first, and remember to click OK when done.
19. Left-click Print and select Print Now.
20. This is the print effect of the full fill.
21. Go back to the white foam settings, we can see that there are many options.
22. But we have to remember only three options, such as the three options marked in red are what we have to remember, respectively, they are only in the place with the color to fill.
23. The brick color needs to be filled in Photoshop inside the decorative channel.
24. I'll start by explaining the option to fill only where there's color.
25. I'll start by grabbing the word color only where there is color to say that he means that all other colors are included in the word color except white, for example, red, yellow, blue, black powder are uh understand the word color ah, this option is well explained.
26. It is what will identify where there is color, and print white ink where there is color.
27. Because white is not equal to color, so the picture has a white part, not equal to white ink.
28. Let's look at these two pictures, the left one is the original picture, the right one is in the rules, only in places with color filled print out.
29. Mark out the white on the left figure, the face as well as the background is white.
30. Use this figure with the scene in places with color to fill, and get the right side of this figure the person who wants to print will see where marked, this original figure is white, so do not print white ink.
31. Now found that only in places with color has been all filled, are not able to give this picture to play the desired effect. The principle of this option is that the person who wants to print will customize the place where needed to print white foam, the person who wants to print will use Photoshop to mark it out.
4. Printing on other surfaces
The person who wants to print will find videos below showing the process for printing on other surfaces:
3.
Print cylinders.
All these videos can be found in the "Training Videos" folder.5. More information
The person who wants to print can find information on "Frequently Asked Questions" and more information in the "ZZ1" folder.
Did this article help you?
0
0